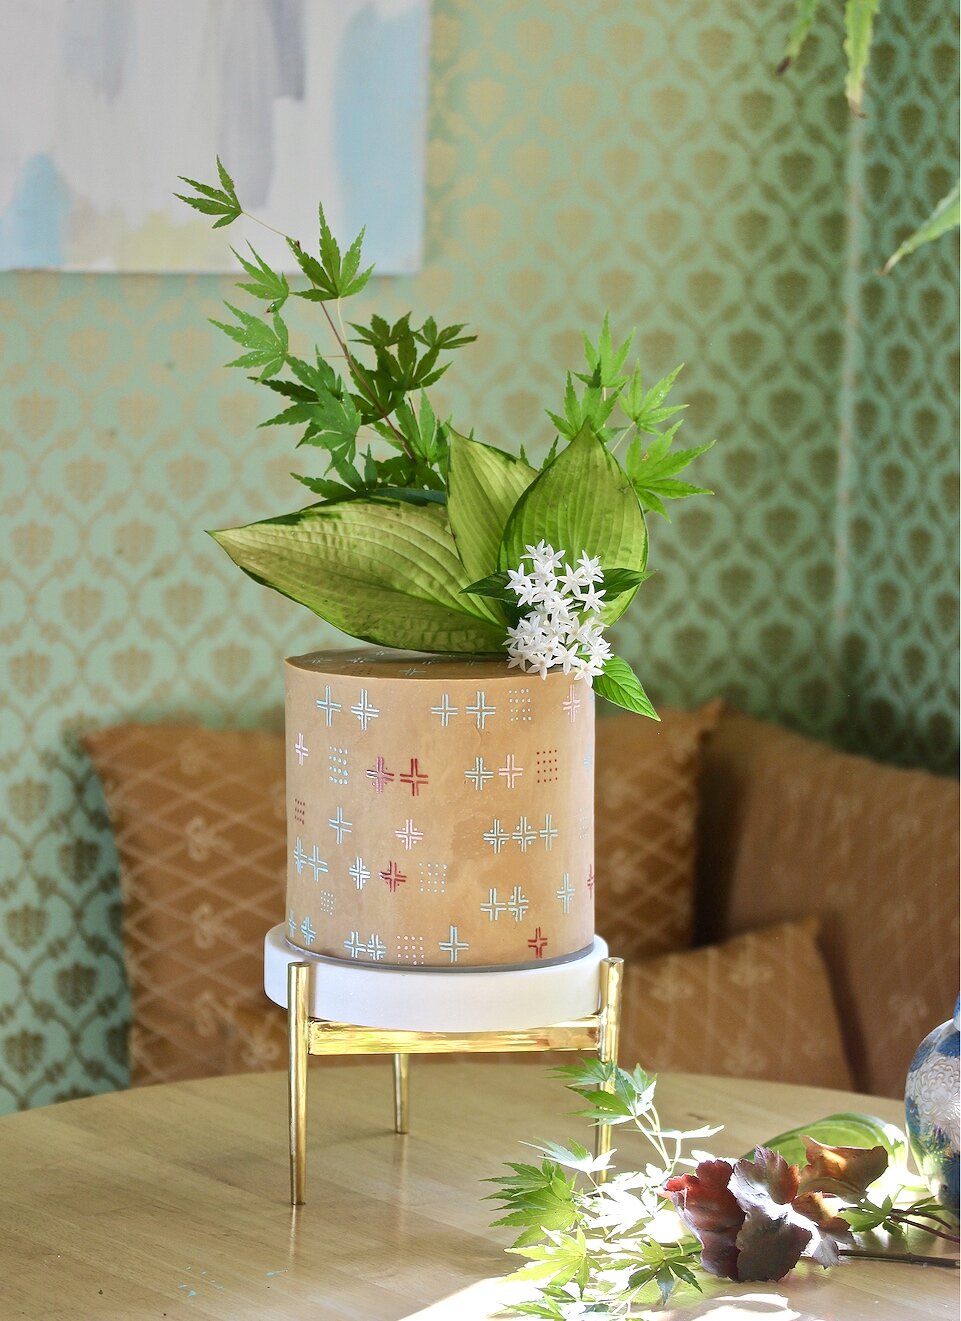
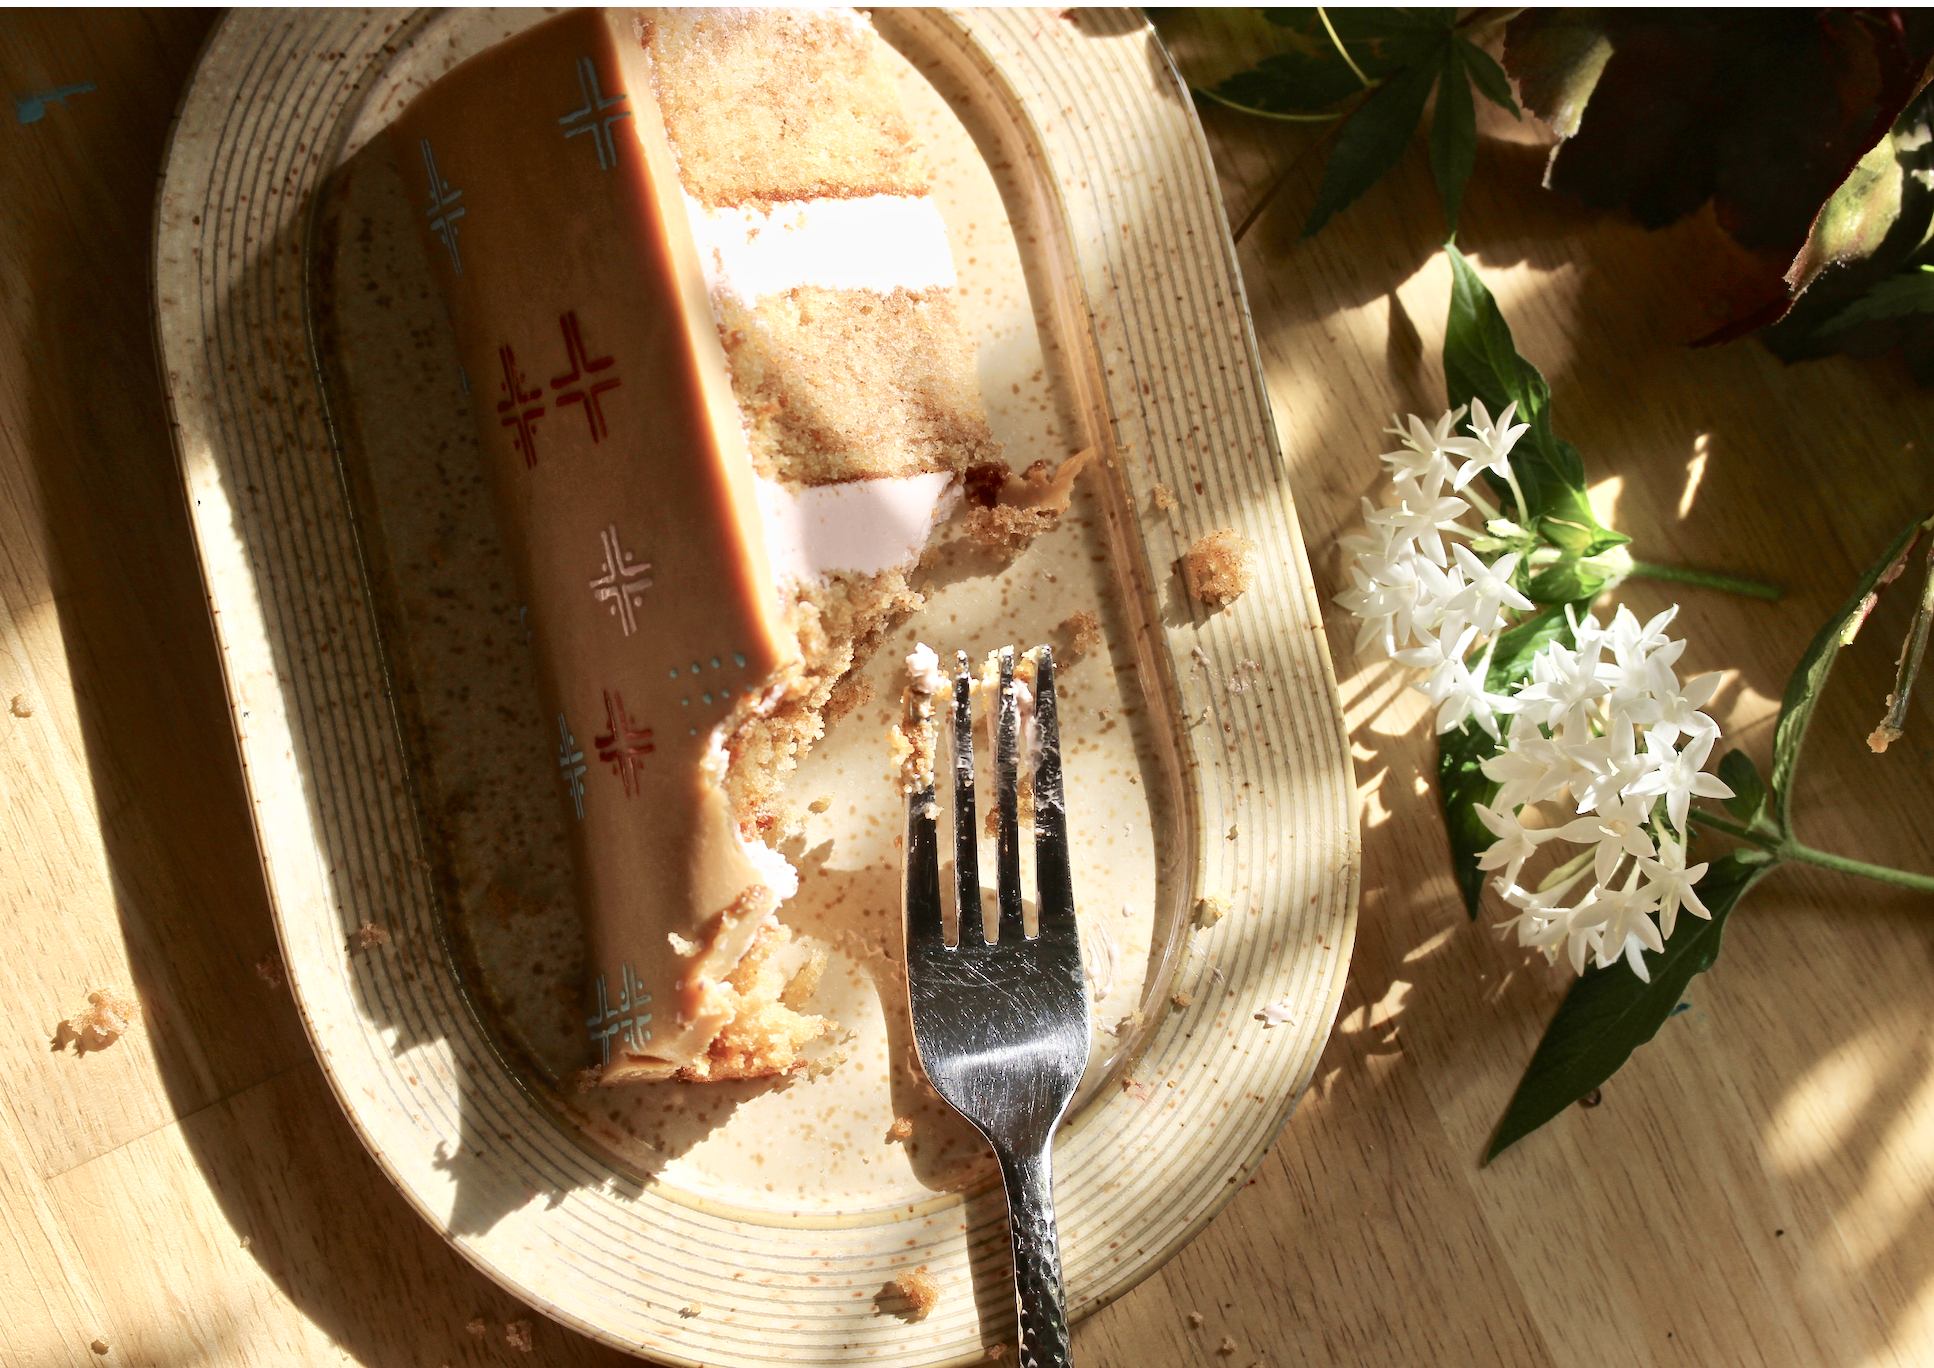
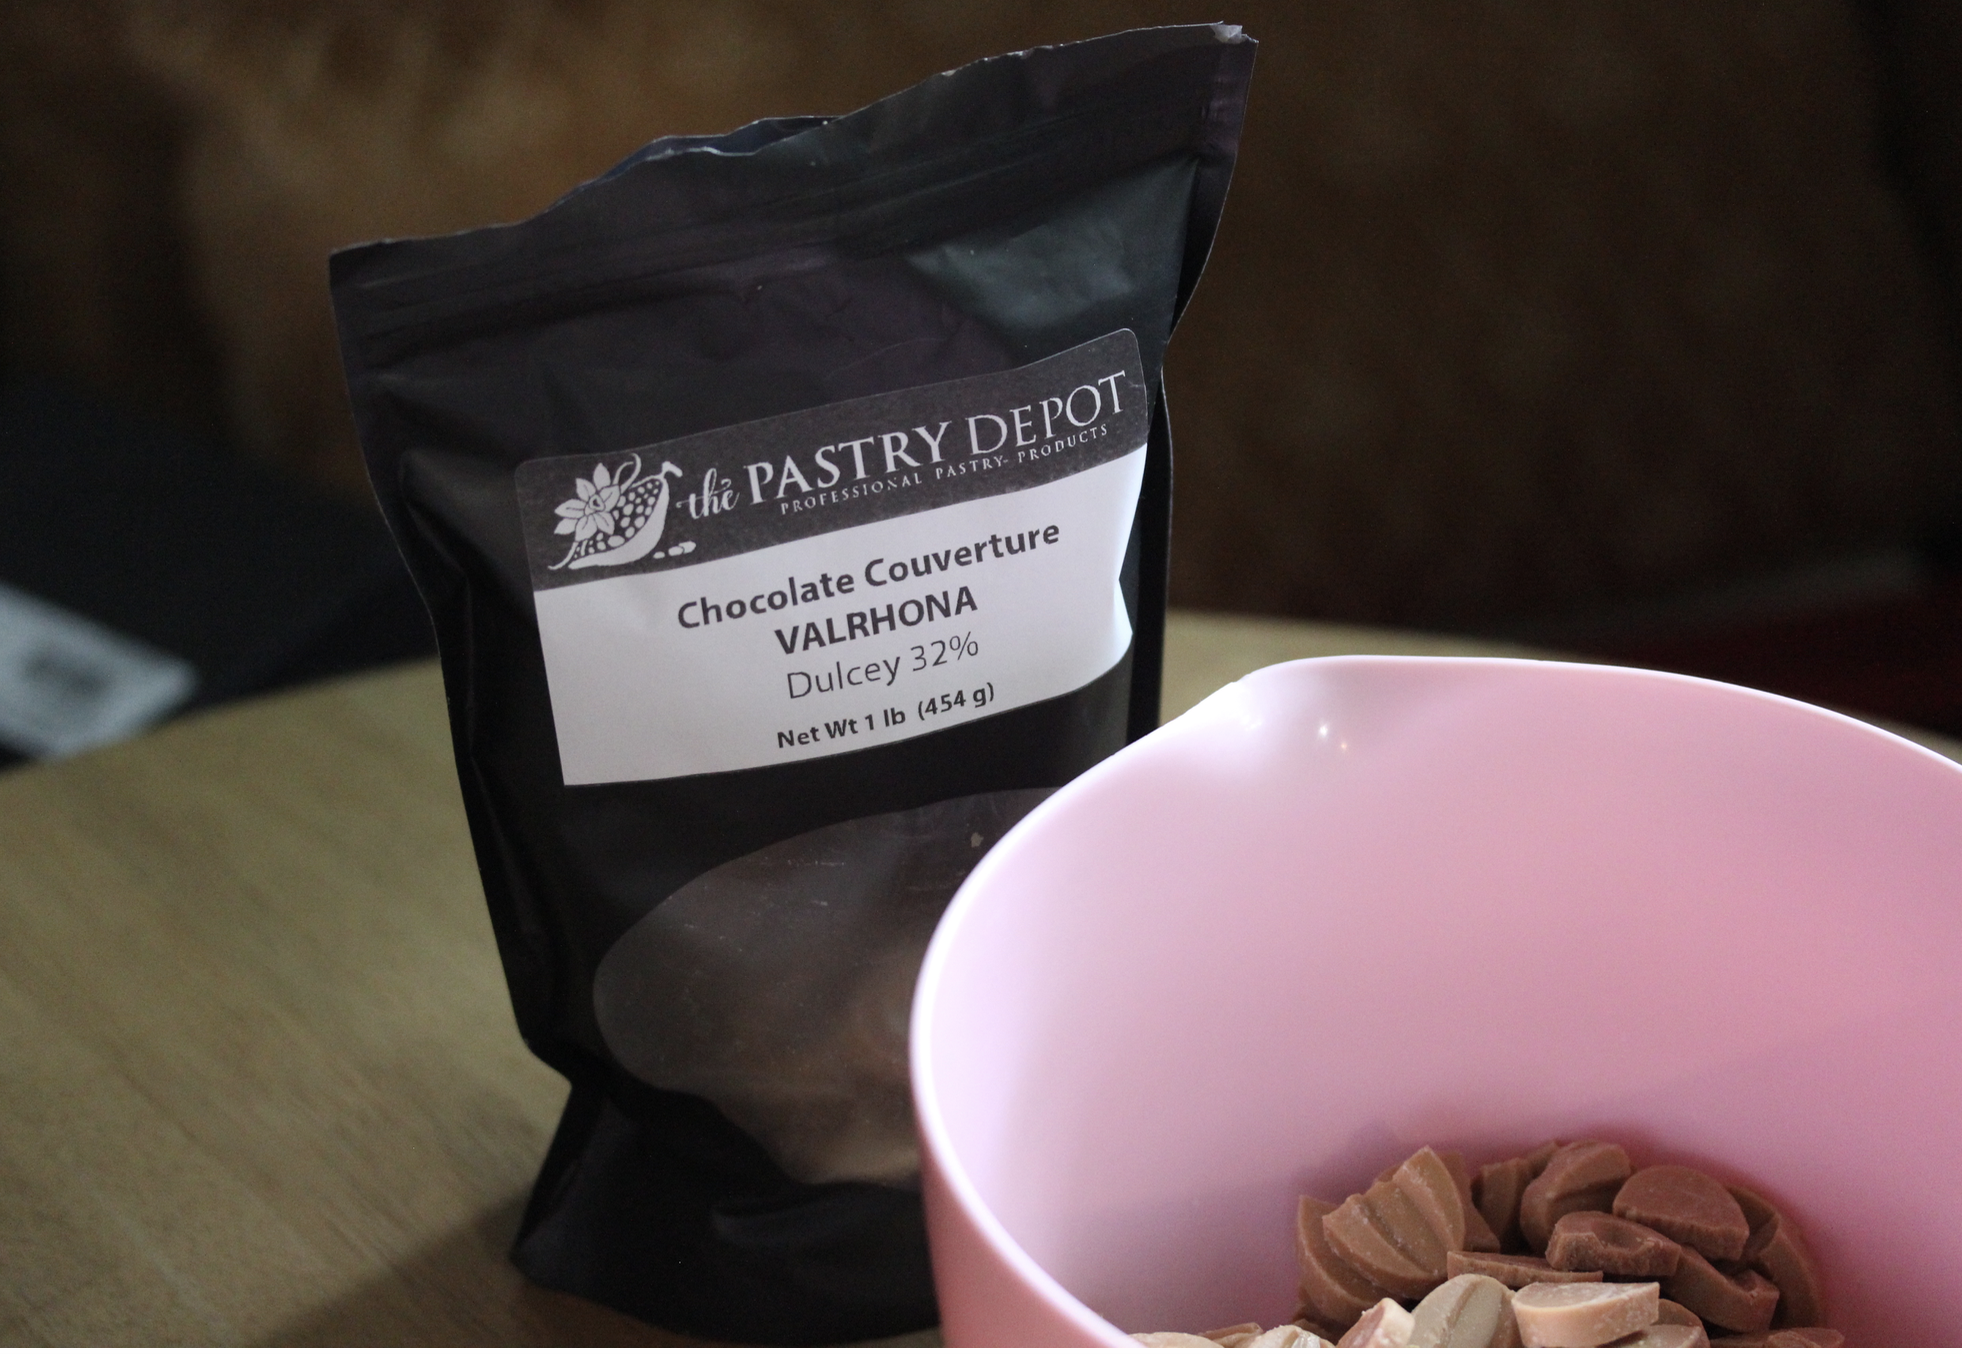
It’s as if all the bittersweetness of late summer turning to early fall reduced down into this one little edible point: a super moist, comforting cinnamon cake with a lightly tart pomegranate Italian meringue buttercream and a layer of sweet dulcey ganache. I finished the cake with a hand-painted pattern inspired by folk print fabric using edible paints that compliments the almost pottery-like natural color variations in the dulcey ganache. I wrote this recipe, to be honest, as a way of figuring out what to do with dulcey chocolate, which is such an interesting flavor—far easier to eat than white chocolate with its slightly salty toasted butter notes, more akin to a dulce de leche taste than the caramel flavor one might assume it has from looking at it. It makes one of the most delicious ganaches I’ve ever had, so even if you are just in the mood to make this ganache and pour it into a tart shell and be done with dessert this post will be super useful to you.
But this cake is really special, too.
The texture of this cake is quite different from my velvety white cream cake. This is a rustic, dense, and crazy-moist cinnamon cake organized around the trifecta of moistening ingredients: apple sauce, brown sugar, and sour cream. You can make it a true spice cake by adding whatever spices you’d like, but I love the pure focus of comforting cinnamon here. The very light pomegranate buttercream is easy to make, using store-bought juice, and offers the perfect foil for Valrhona’s sweet and toasty dulcey chocolate.
So let’s start with the buttercream. It seems like in the past year I’ve been completely overtaken with this Italian meringue buttercream recipe, which I used to think was so fussy and not worth it—not anymore. Now it seems so easy to me, and so much more delicious than any other buttercream. I’m not big on sharing recipes that you need to have a stand mixer for, but this is one of the exceptions. My recipe for Italian meringue buttercream (IMBC) is very standard, but my method of putting it together is not. It’s kind of a ‘reverse’ of the traditional (and, in my opinion, problematic) method of adding butter to the meringue which often causes all kinds of problems that make IMBC seem stressful. First of all, there’s a somewhat challenging issue of temperature control, which I have learned from years of experience writing recipes now, is always a sticking point. Ambient conditions are difficult to control in a home kitchen, and judgments about what is ‘room temperature’ and what is ‘cool’ or ‘warm’ are always subjective and can lead to despair. This ‘reverse’ method, hopefully, avoids us some despair.
So this is my basic IMBC recipe, to which you can add any flavors or adjust the sweetness in any way you’d like. Replacing the pomegranate juice with plain water in your sugar syrup will give you a blank canvas to play with. As you can see, I add a bit of powdered sugar to my butter in this recipe, which not everyone does, but I have found that people (especially here in the South) like a sweeter buttercream than standard IMBC and the touch of starch from the powdered sugar adds a bit of density to this otherwise very ethereal frosting that feels comforting and right to my clients. A half of a cup to a cup per pound of butter is just enough before you start to notice any grit in the frosting from the powdered sugar. Adjust to your taste. You can also add more sugar to your syrup to make it sweeter if you prefer.
I’ve written before about how illogical I found the process of IMBC to be in the past, adding a block of solid butter to meringue instead of the other way around, not to mention keeping the meringue in the hot mixer bowl and waiting around forever that way when it would cool almost instantly if you simply removed it. Then there’s that whole distressing ‘soup stage’ that IMBC can go through if your temps aren’t perfect, which is almost all of the time. This ‘reverse’ process should ensure that your buttercream never has to go through that painful soup stage—once the meringue is added to the butter it comes together smoothly and quickly.
I know it seems complex, but with the right tools really with IMBC all you’re doing is monitoring two machines to make sure they’re doing their jobs. You’re watching your thermometer and your mixer—and you don’t even have to watch your thermometer if you have one with an alarm (which I highly highly recommend!) This one is my all time favorite. You can just clip it, walk away, and wait for the beep.
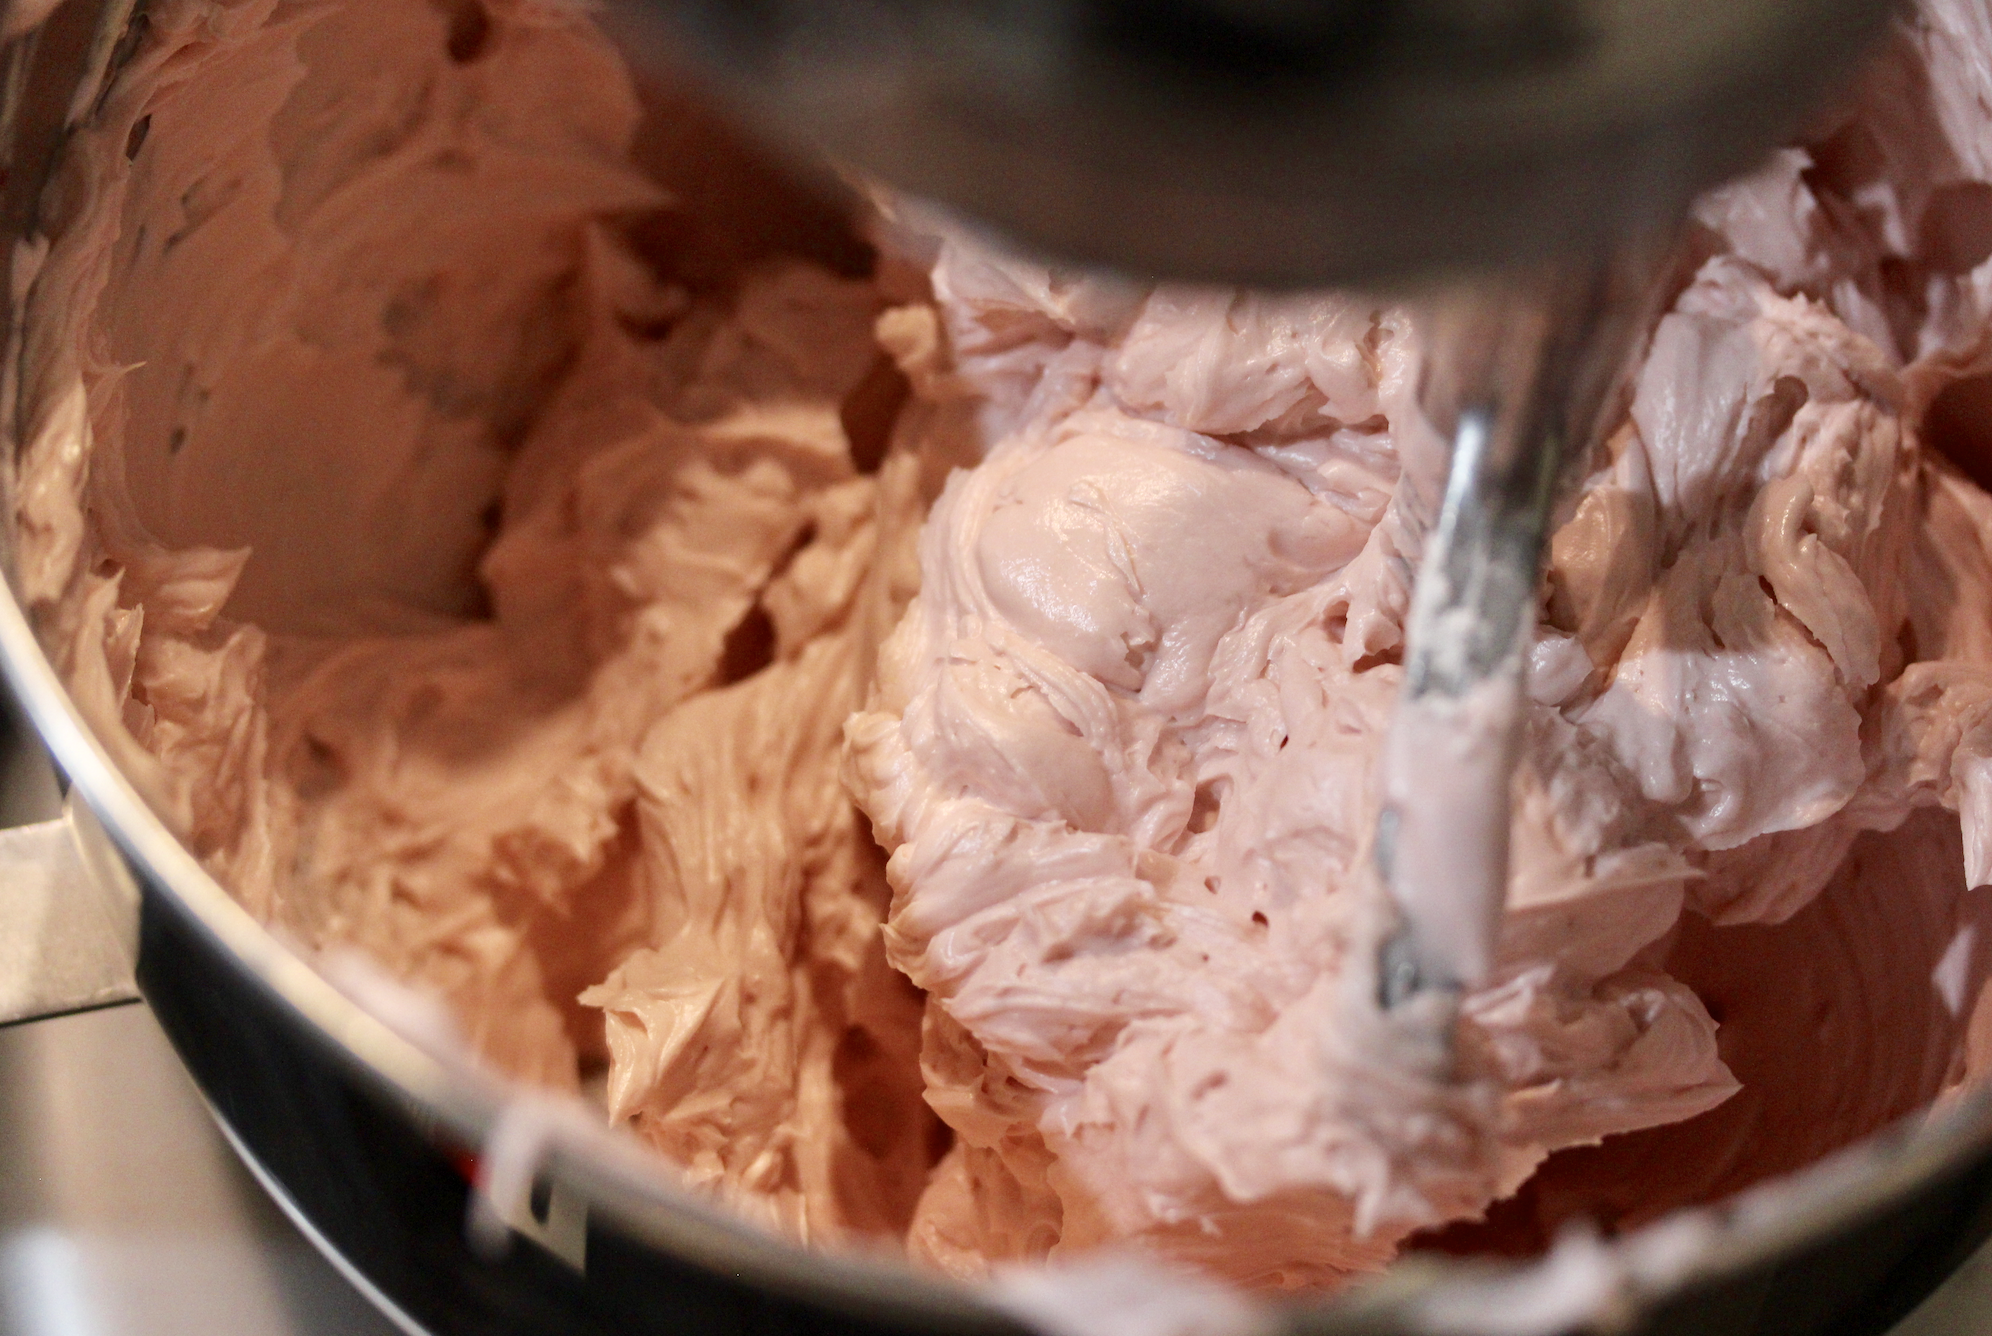
IMBC is a fantastic canvas for any flavor, but does especially well with finely-ground freeze-dried fruit powder, which is an easy and natural way to flavor a frosting. I added a touch of pink food coloring, just FYI, to this batch since the pomegranate juice was not quite strong enough to color the icing pink as I hoped. IMBC is so, so much better for piping since it really holds its shape well and makes glossy, almost translucent flowers so if you wanted to skip the dulcey ganache altogether and just use this baby for the whole cake it wouldn’t be a bad choice at all.
ITALIAN MERINGUE BUTTERCREAM
1/4 c. and 1/4 cup of pomegranate juice, divided
6 oz. and 2 oz. sugar, divided
5 (150 g.) egg whites, cold
pinch cream of tartar
16 oz (453 g.) unsalted butter, softened
1/2 c. to 1 c. powdered sugar
pinch fine sea salt
pinch citric acid (optional, enhances flavor)
2 tsp. vanilla extract
white vinegar for wiping bowl
Degrease metal stand mixer bowl with a small amount of vinegar soaked into a paper towel. Separate eggs carefully and place whites and cream of tartar into bowl. Using whisk attachment, begin whipping eggs on low in a stand mixer.
Add 6 oz. sugar and 1/4 c. juice to small saucepan and place over low heat to melt sugar. Once sugar is mostly melted, increase the heat to med-high and clip on your thermometer.
Once the egg whites look foamy, add 2 oz sugar and increase speed to medium high. Now monitor both: the sugar syrup should reach 240 degrees at the same time your meringue looks glossy and forms stiff peaks. If meringue is ready but syrup is not, simply stop the mixer and wait for sugar to catch up. Conversely, decrease the temp on the sugar if its heating too quickly. Do not allow meringue to over whip and become dry and chunky. Once the syrup and meringue are ready, pour the syrup directly from the saucepan into your running mixer in a thin steady stream, aiming between the whisk and the side of the bowl. Do not attempt to scrape any hardened sugar that has stuck to the sides of the bowl into the meringue. Allow the meringue to whip for another three minutes until fully incorporated. Turn out meringue into a grease-free bowl and place in fridge to chill for 15 minutes. Rinse mixer bowl with cold water to cool down, then dry off and return to stand.
Change mixer attachment from whisk to paddle and add butter, salt, citric acid, vanilla extract, powdered sugar and 1/4 c. pomegranate juice to mixer bowl and whip butter about five minutes until light and fluffy. Test to make sure the meringue is cool, and add to butter in two stages, then mix for another 3-4 minutes until light and fluffy.
Now, the good news is that this ganache is a simple one-step procedure. Place 300 g. of chocolate pieces in a bowl then simply heat 100 mL of heavy cream until it just starts to simmer, then add to the chocolate pieces. Stir until the mixture is smooth and all the chocolate is melted. If you have a lot of unmelted pieces, zap the ganache in the microwave on low power for just 10 seconds at a time to reheat the mixture. Allow ganache to cool for an hour or so, until it loses most of its shine and has an easy to spread, peanut-butter like consistency.
I recommend a heat-safe plastic bowl when making white chocolate ganache. It’s very finicky and temp-sensitive, and can seize easily if overheated. Metal or glass bowls seem to retain too much heat and I have had problems with them. If your ganache does seem to get oily and separated, add a tiny bit of warmed up cream mixed with a drop of corn syrup to bring your ganache back to normal. Works every time.
This will make enough ganache just to cover the cake—feel free to scale up for more. Here is a pic of the chart I keep on my fridge for the perfect cake ganache in chocolate and white (treat Dulcey as white chocolate).
This cake recipe is so easy and so rewarding. You can use really any pan here, even a rectangular one and make an easy sheet cake. Cream cheese buttercream is a fantastic pairing here if you want to go with something super easy. And as I mentioned, feel free to dress up the cake with more spices. I highly recommend a nice strong Vietnamese cinnamon here, like this fantastic one from Penzey’s.
CINNAMON CAKE
312 g. all-purpose flour
2 tsp. aluminum-free baking powder
1 tsp. baking soda
210 g. light brown sugar
230 g. sugar
1 tsp. fine sea salt
2 tsp. ground cinnamon
1 tsp. vanilla extract
4 large eggs, room temperature
1 c. canola or vegetable oil
1/4 c. sour cream
1 c. unsweetened applesauce
Preheat oven to 350 degrees. Line bottom of three or four 6” to 8” baking pans with parchment. Mix flour and baking powder and soda in a small bowl with a whisk until well-mixed. Add all of the rest of the ingredients except for the applesauce into a larger bowl and mix with a hand mixer on medium for about three minutes until smooth. Add in apple sauce, mix until smooth, then add the dry ingredients in two batches, mixing it on low just until fully incorporated. Split batter among pans and bake for around 20-35 minutes, depending on size of pan. Cakes are done when fully set in the middle and spring back when lightly pressed.
Allow to cool for 10 minutes in the pan, then turn out and wrap loosely in plastic wrap and allow cakes to cool completely before trimming and frosting.
Fill your cooled cakes with your delicious pomegranate buttercream, then use your ganache as you see fit to cover—something rustic is just as nice as a super sharp edge made by ganaching plates. I don’t have a step-by-step tutorial (yet) on the blog for how I do mine, but its essentially the same technique as seen here from Cake Safe.
I then added an easy painted pattern to the ganache using edible paints and added a touch of greenery (from my own backyard!). This cake stayed moist forever and was so easy to eat thanks to the perfectly balanced flavors. I can’t recommend it enough.
