It tastes like ice cream because it is ice cream, essentially. Custard to be exact. Just, not frozen.
This recipe is years in the making. I have tried every buttercream in every variation under the sun, searching for one that would be creamy, smooth, not too sweet, and yet sturdy enough to hold up under stacked cakes. Generally I give up on all the frostings and just make ganache.
Let's get to the heart of things. Bear with me--we need talk for a minute about the components of frosting--the very concept of frosting--in order to get at what we even want it to do. Along the way we'll run through the popular buttercreams and their issues.
We ask so much of frosting. Sealing in the cake's freshness and looking perfectly beautiful, It's supposed to be sweeter than the cake it frosts, but not sickly sweet. It's supposed to be both smooth and creamy yet fluffy. It's supposed to hold up under heavy stacked cakes, hold up in hot weather, hold up with all the dyes and flavors we add to it, hold up under heavy fondant and ganache, hold up to piping, freezing, defrosting, re-whipping, etc. etc. AND it has to be DELICIOUS. No wonder there are a million variations on a million recipes for the stuff--to accomplish all of these demands is no simple task for what is essentially a mere embellishment on a cake.
And so what is the theory, if you will, of its composition? We've got sugar for sure--either melted granulated sugar in a syrup, or powdered sugar (or both). The real debate, as you can see played out in the following paragraphs, is what body is best to transport this sugar to your palate. It's got to have a pleasingly fatty mouthfeel, a smooth and substantial texture, but not too heavy.

oh oh
The first candidate is butter, obviously, hence the simple beauty of American buttercream. Whipped butter can for sure be fantastically fluffy, and the fattiness is perfect. But American buttercream is too sweet, and if you try to make it less sweet by leaving out some powdered sugar, it just tastes like solid butter. It's fine in a pinch, but not transcendent. Can be delicious if you add as much unsweetened chocolate to it as possible.
I'm not even going to mention the shortening version of American "butter"cream. Because, gross. The war is over my love, put the Crisco down.
How about something lighter, a little meringue? Swiss meringue buttercream (SMBC), the second most popular frosting, always bugged the everloving crap out of me. First of all, it's nonsensical to make a meringue and then completely deflate it by cramming a brick of butter into it. At least one person has realized that the entire meringue step is completely unnecessary. Nailing the emulsion between butter and sweetened egg whites is tricky because of the temperature difference--which is why there is almost always some form of encouragement in any SMBC recipe along the lines "when it turns to soup, don't worry, just keep whipping and it will come together!" If you haven't figured it out already, that "soup" is the remnant of the meringue you just spent all that time whipping up, which has now had 99% of its tiny bubbles popped. By hunks of butter. You might as well just pour sweetened egg whites into your butter from the get-go. Beyond that weirdness, it's delicate, prone to weeping, and has a creepy texture. Yes, creepy. It's too slick.
Italian meringue buttercream is somewhat better, since the egg whites are not cooked, cooled, then whipped up, but whipped first then stabilized with hot sugar. Still, it's a tricky meringue to perfect because of how you have to, you know, pour hot sugar into meringue and somehow not murder it. Also the subtle shine of this frosting puts me off, as if it contains gelatin.
The other half of eggs? French buttercream, with an egg yolk foam instead of an egg white meringue...well...nobody makes that one. It's good though, just very soft and yolky.
Pudding? German buttercream and cooked (flour) frostings...now we are getting somewhere. I've been fixated on these in the past six months, feeling like there is something perfect here if I can just get the ratios right. I love the full body of cooked flour (or seven-minute, or ermine, (such a great name!)) frosting, but the texture wasn't fluffy enough for me--it came out a little on the pasty side, and dull in flavor as glue unless a ton of sugar is added. It was the flour.
So, scratch the flour. That means there is one champion left on our list, the one who ultimately took the prize in every possible way: custard. About 40% custard to 60% whipped butter makes the perfect body for the perfect frosting.
We circle back to German buttercream. It's not a popular one because it's considered too soft to hold up to piping, and can have a yellowish tinge.
Well. I am here to say I have solved all of these problems. I have solved buttercream, period, haha!
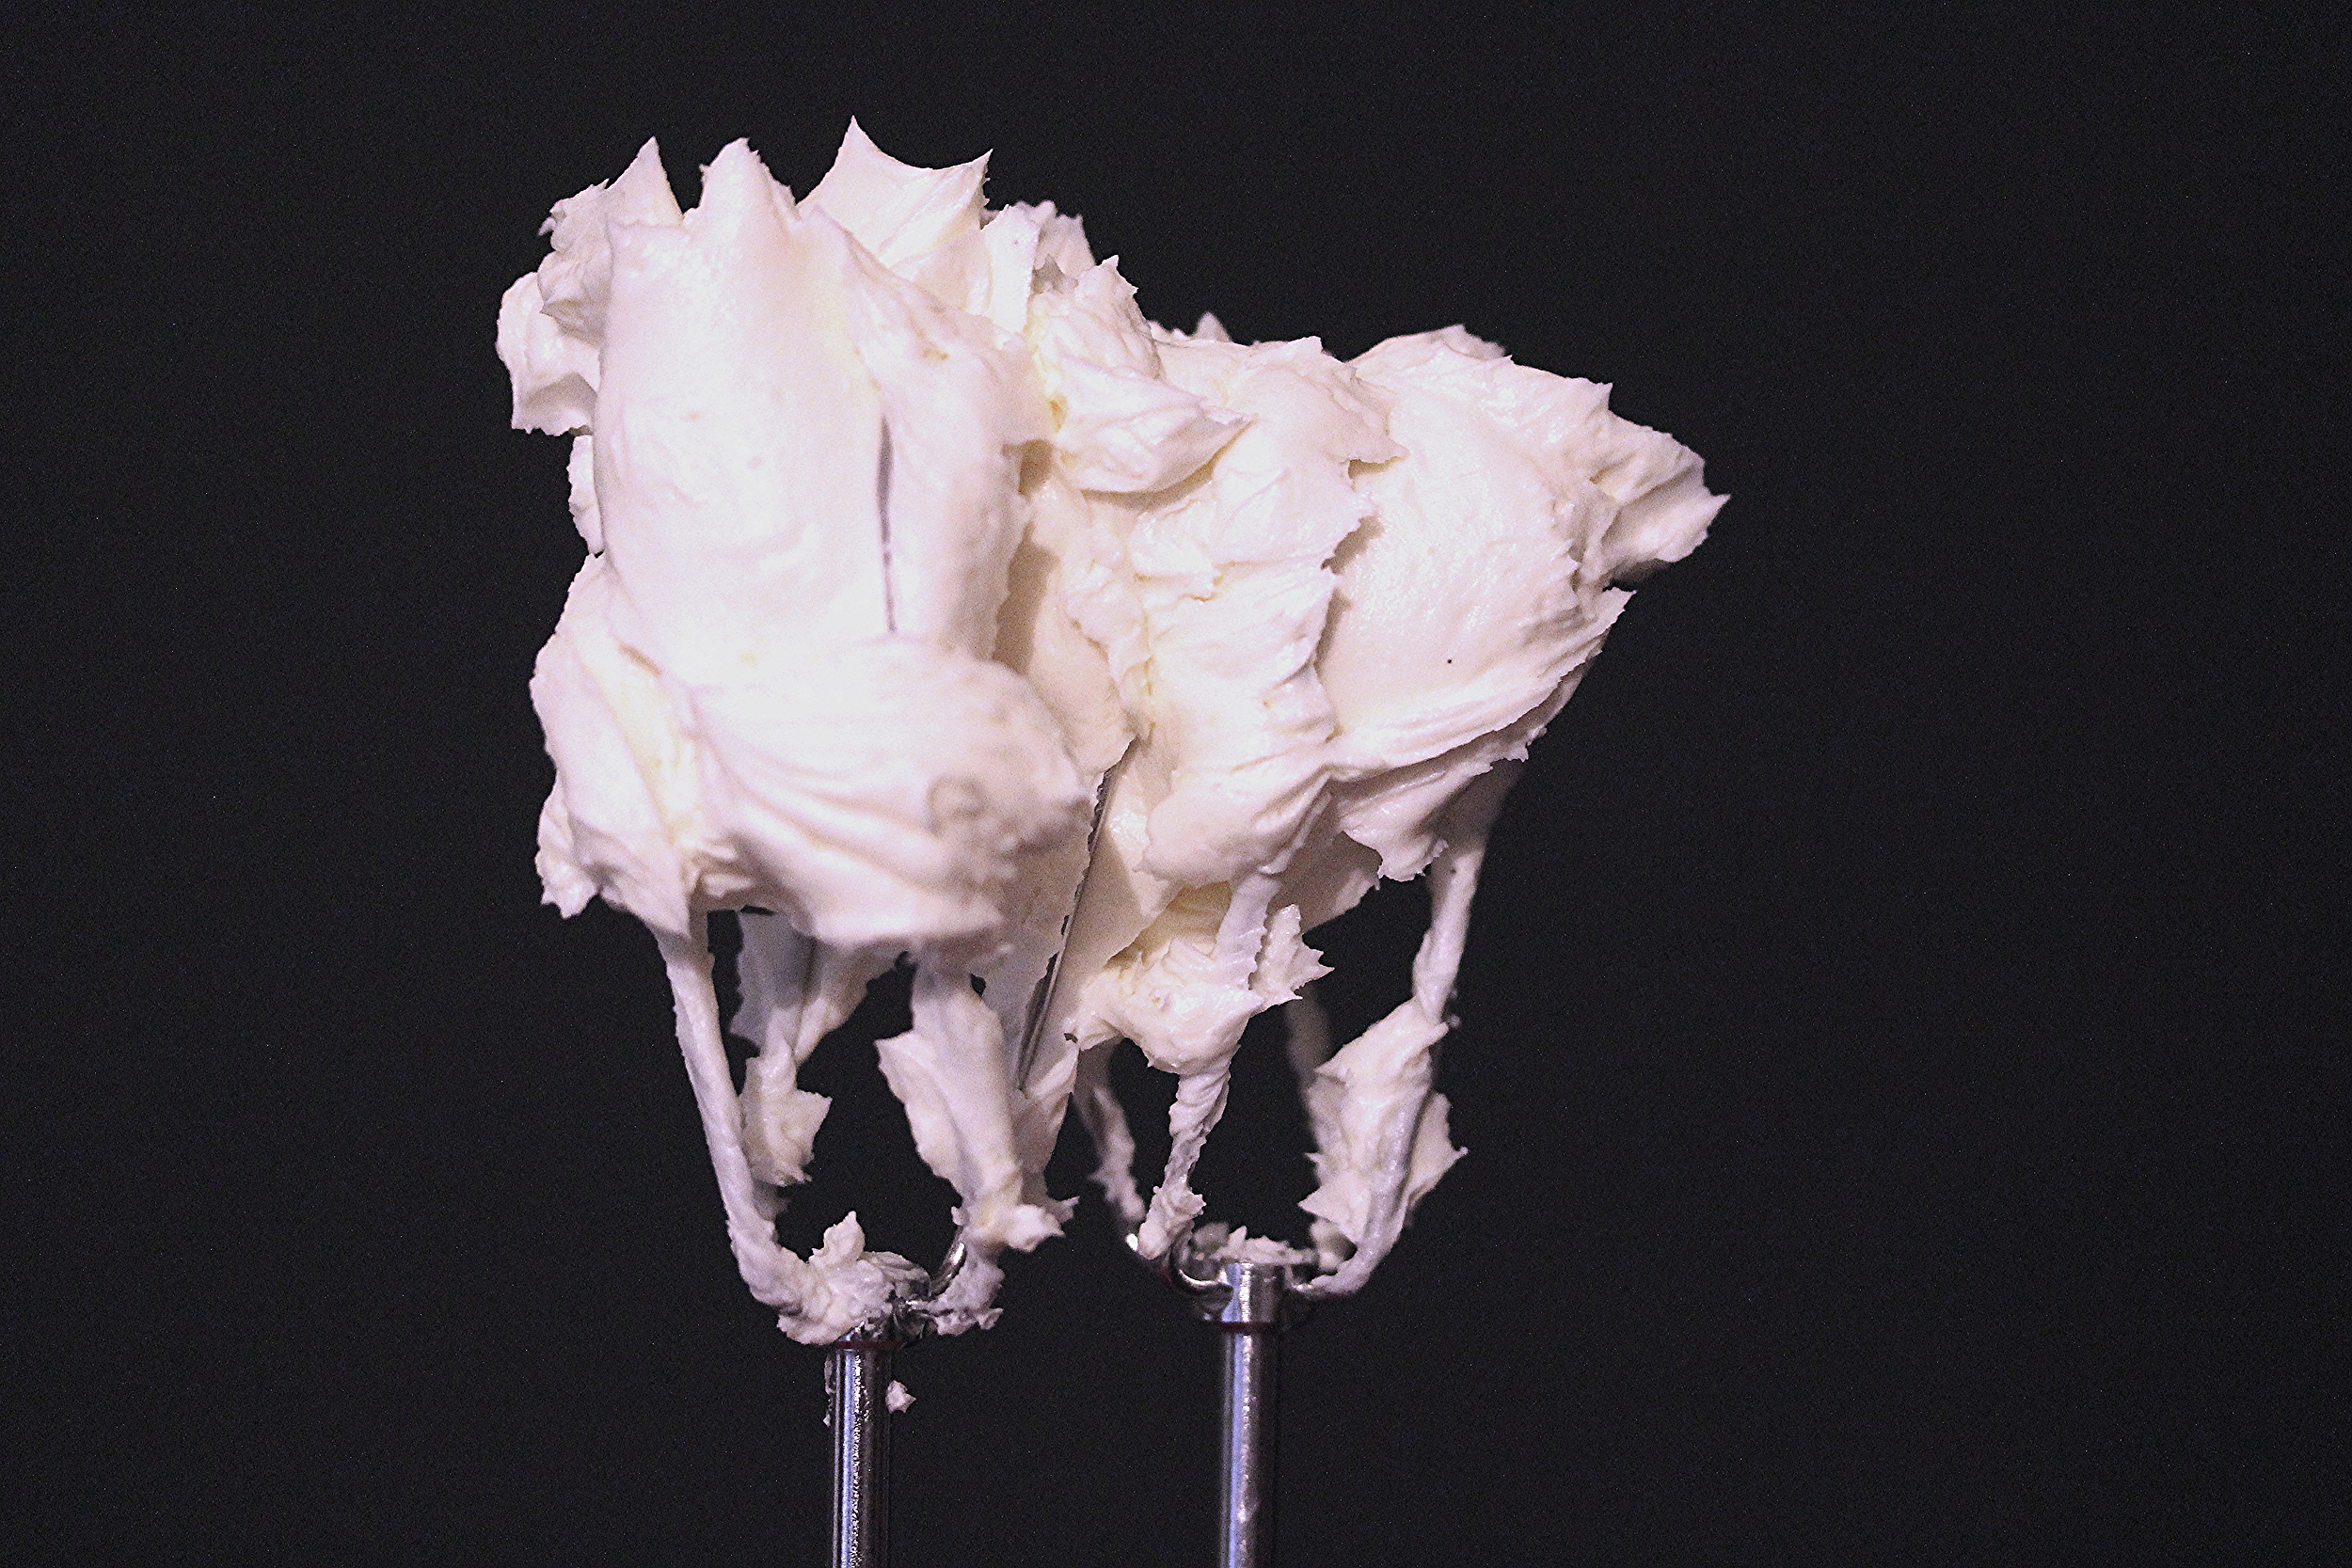
Light, delicious, AND obedient!
For now.
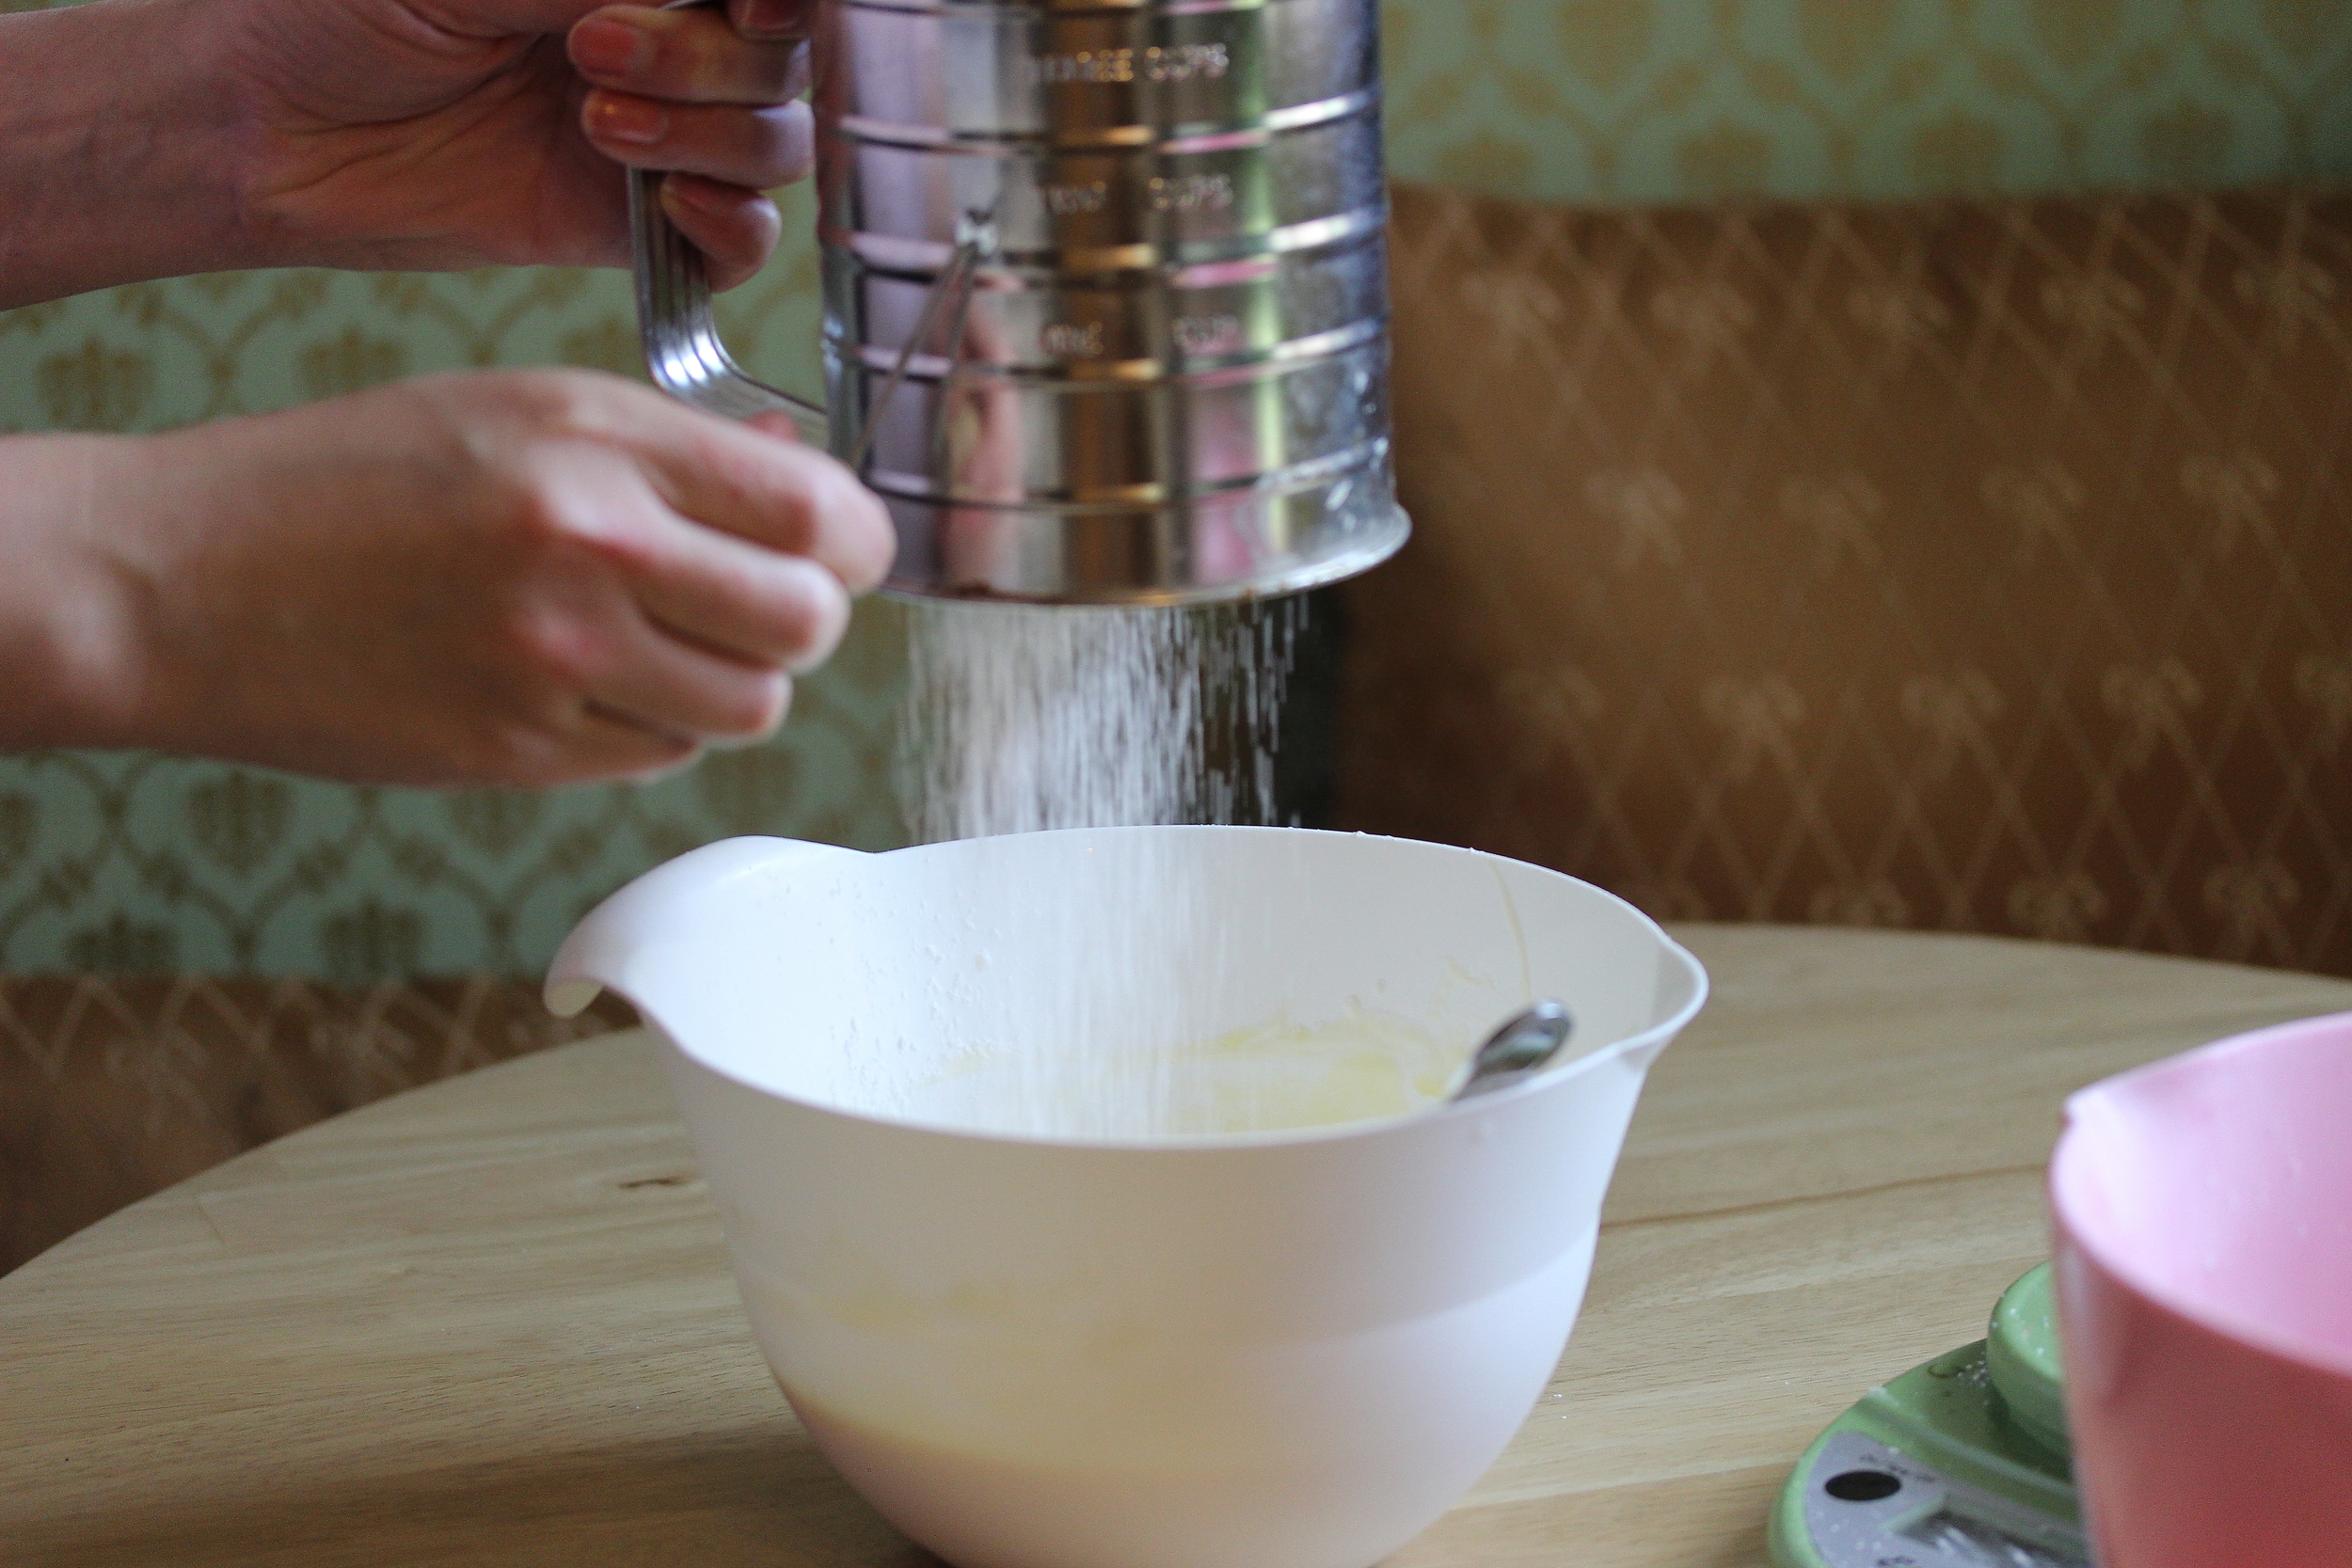
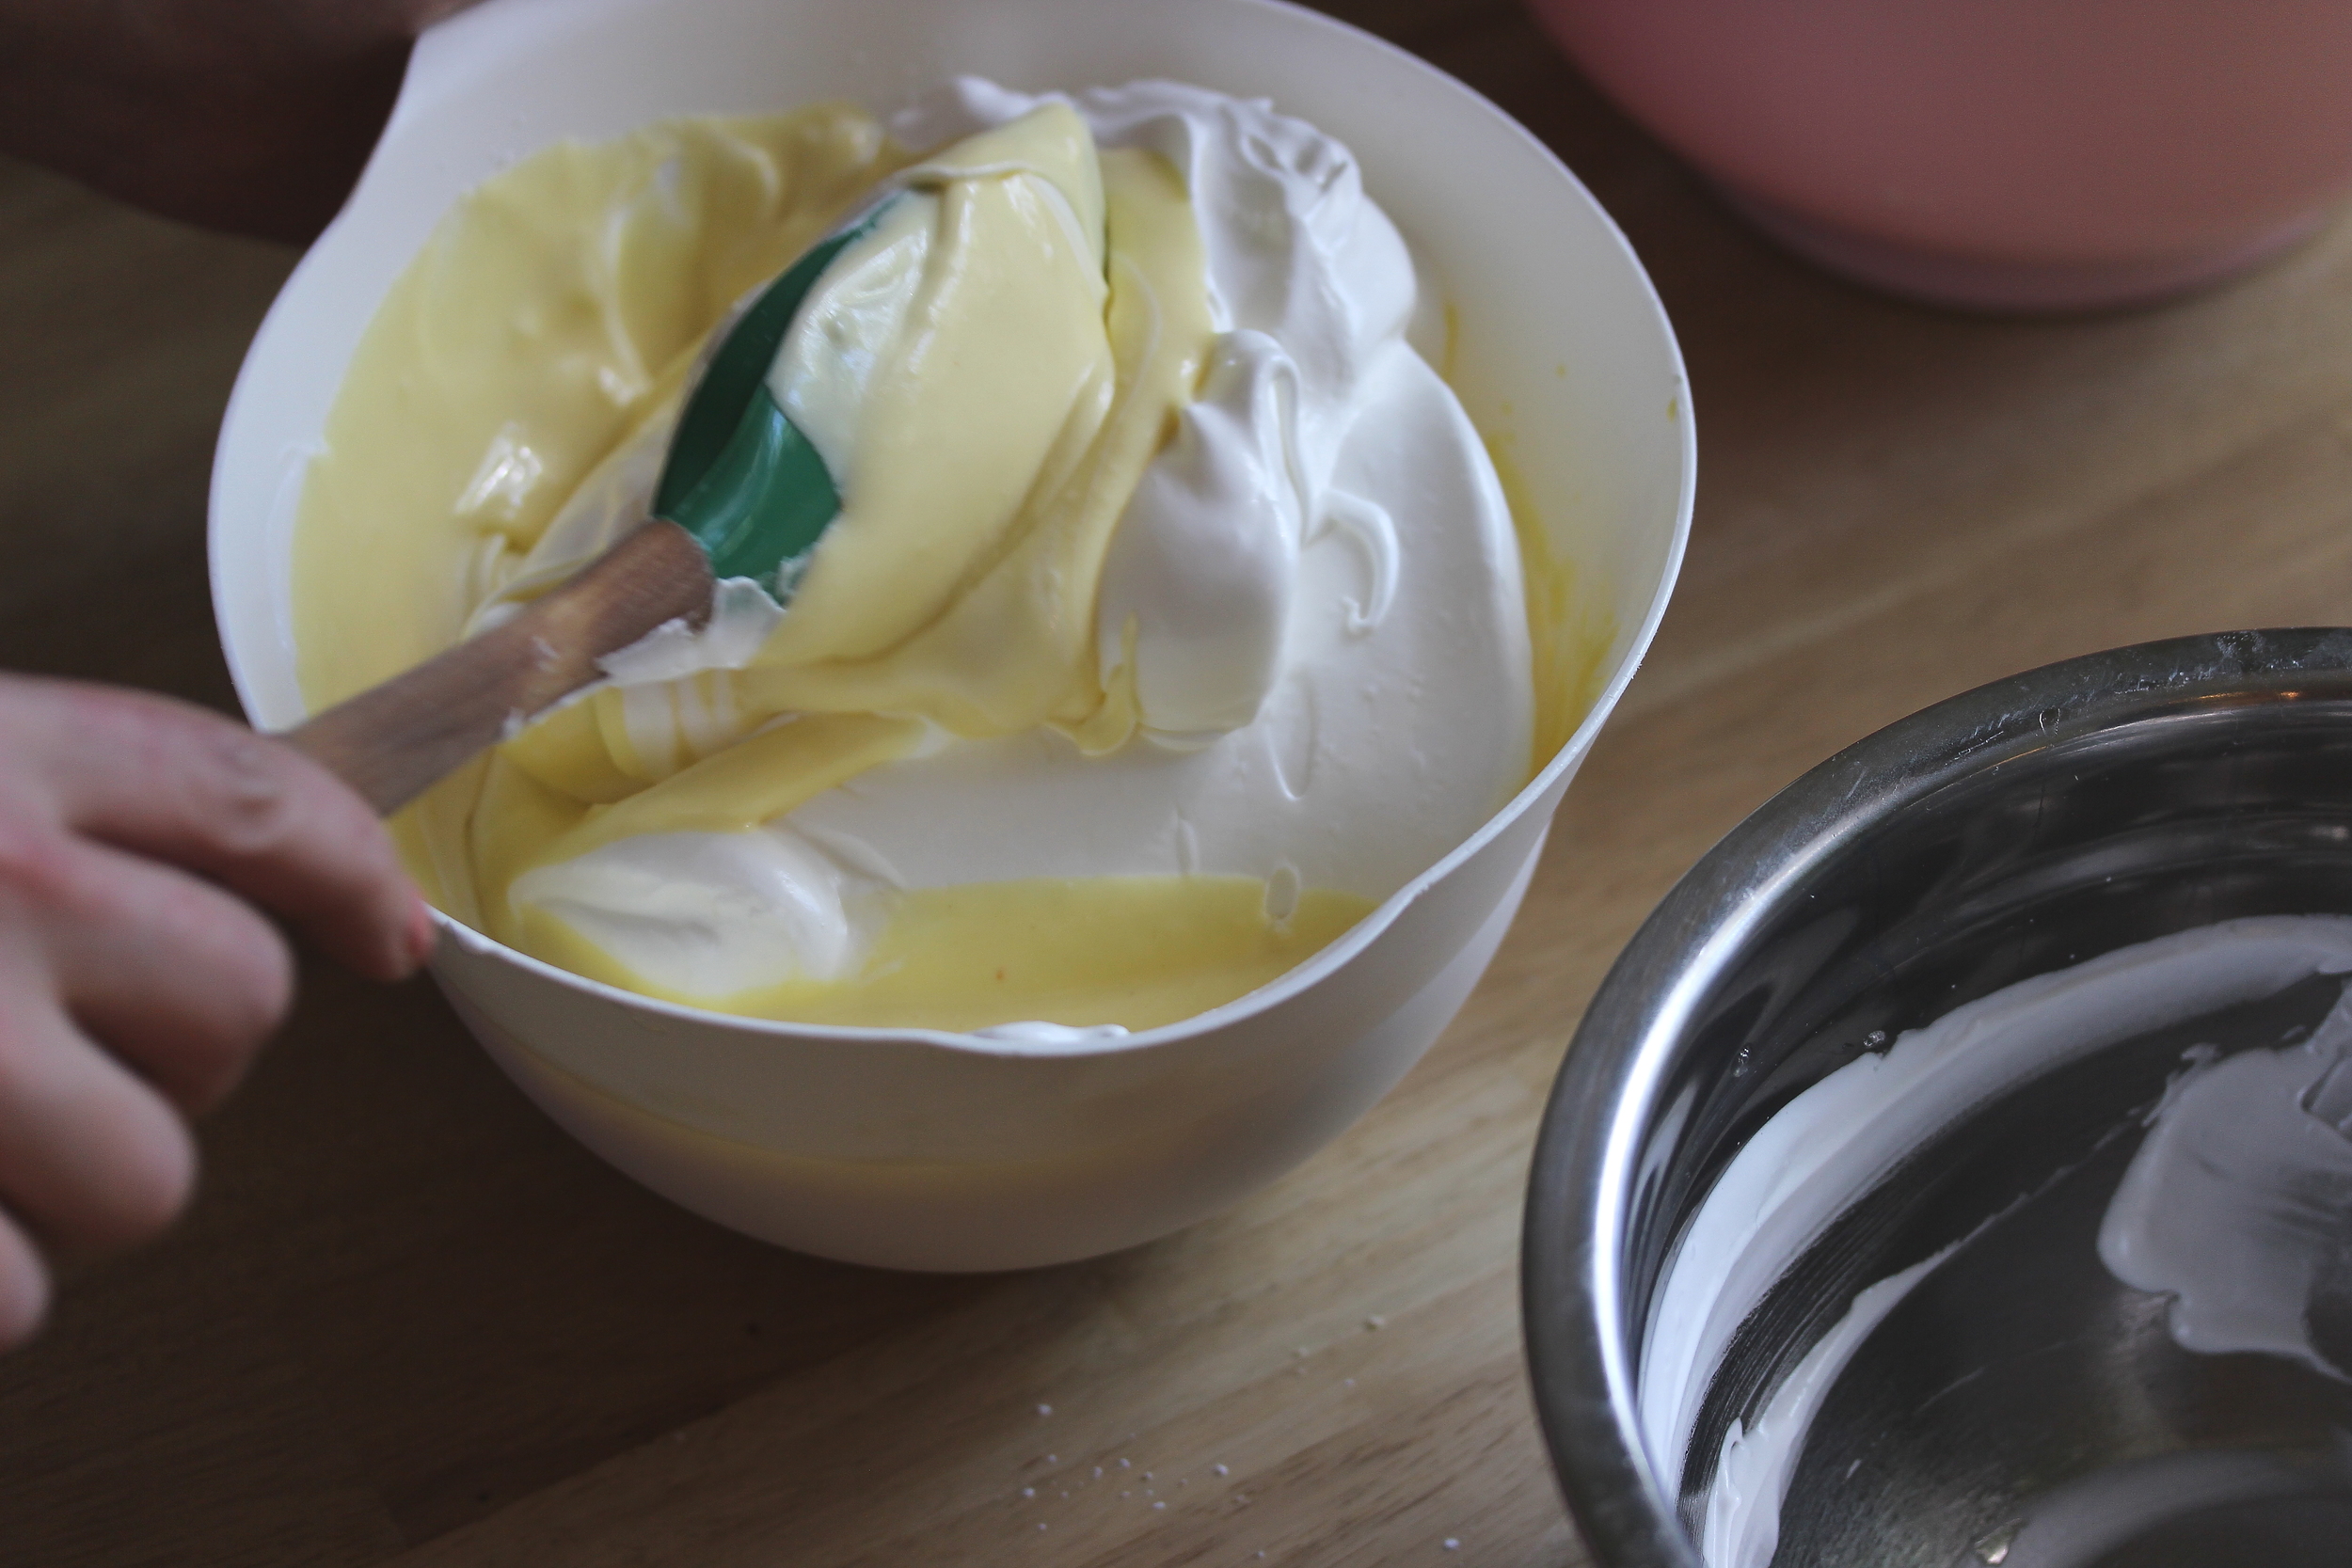
First off all, I saw several problems with the custard recipes in German buttercream. They were all made with yolks only and milk as the custard base. Obviously adding a whole egg or two is going to give us more lightness to balance out the heavy body and flavor of yolks. Swap some milk for heavy cream to add non-egg density and a lighter color. Thirdly, we are going to need two sugars here--granulated (for the custard) and powdered (to add to the butter). A balance of both means the perfect amount of sweetness/stability to the custard base and firmness for piping. And lastly--that utterly foolish last step in all recipes of adding small amounts of soft butter to the custard as you whip it--reverse that! Whip up your butter first to ultimate fluffiness, then add small amounts of custard. Duh. Now we have a frosting that is ridiculously perfect--light, fluffy, yet firm enough to pipe beautifully, not too sweet, perfectly rich (and because of the extra fat from the yolks and cream) carries flavors potently!
This is somewhat embarrassing to admit but I teared up a little the first time I tasted this recipe. You don't understand how long I have been dreaming of this frosting.

gasp
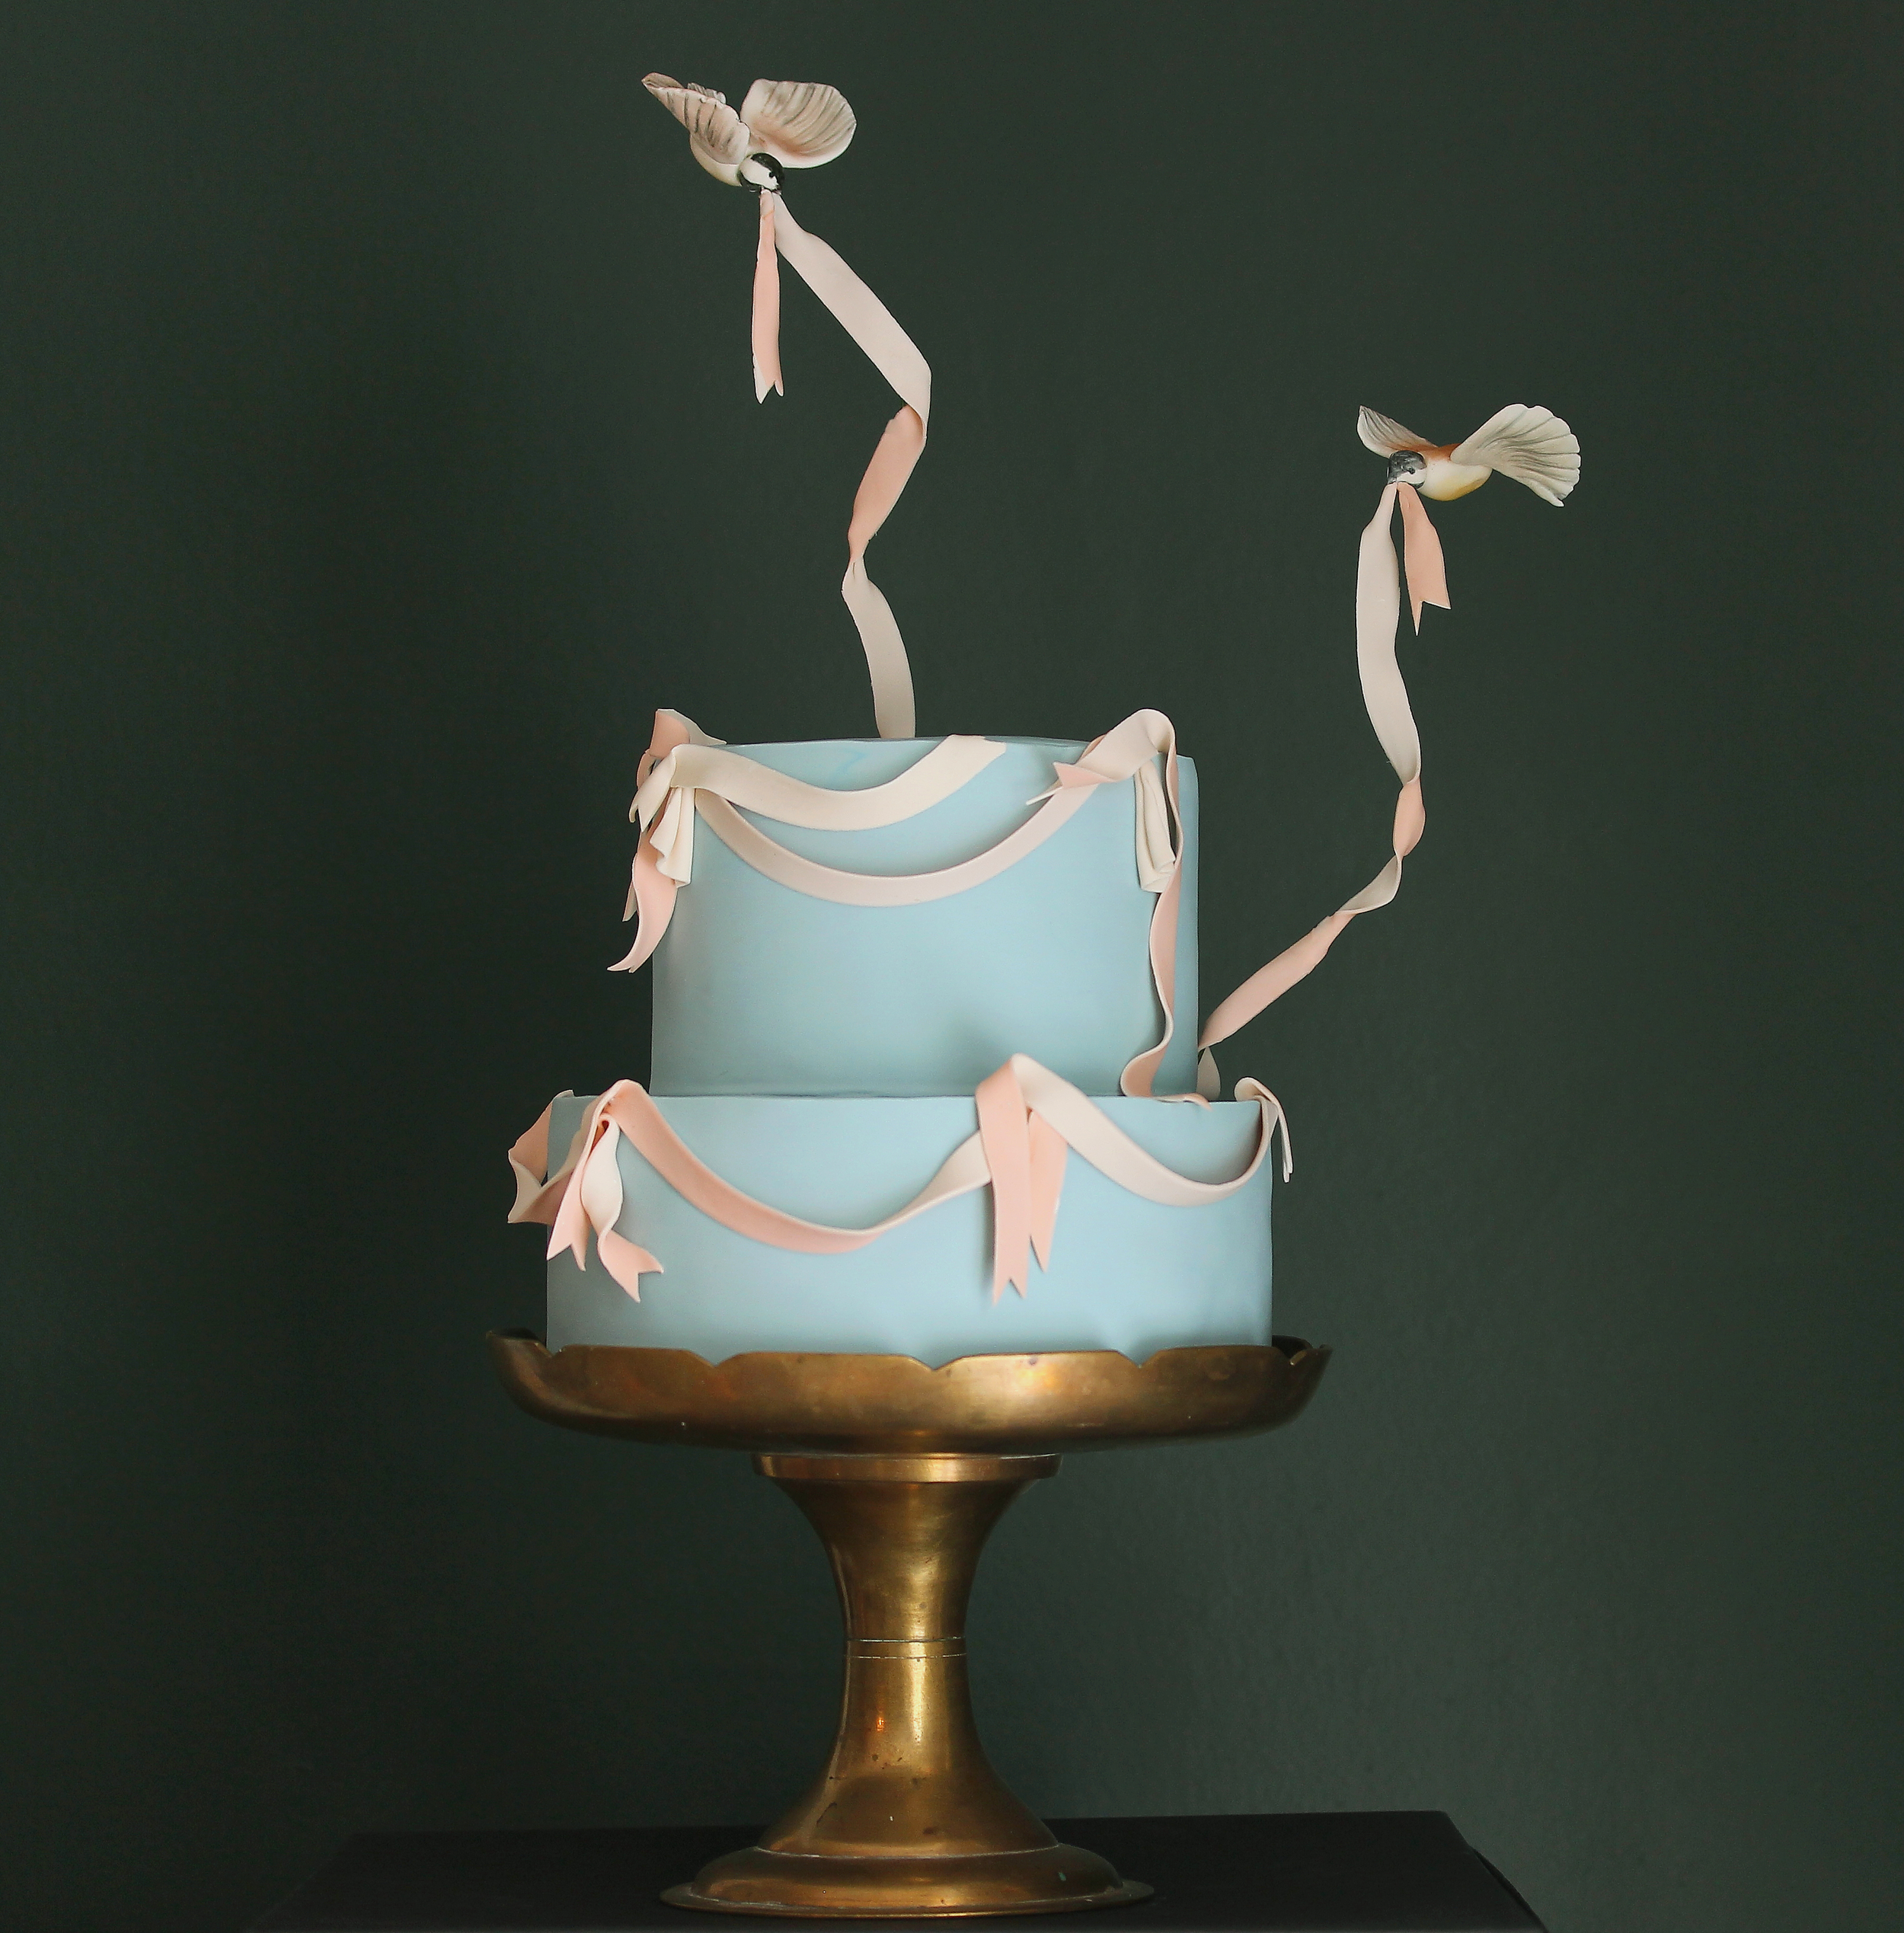
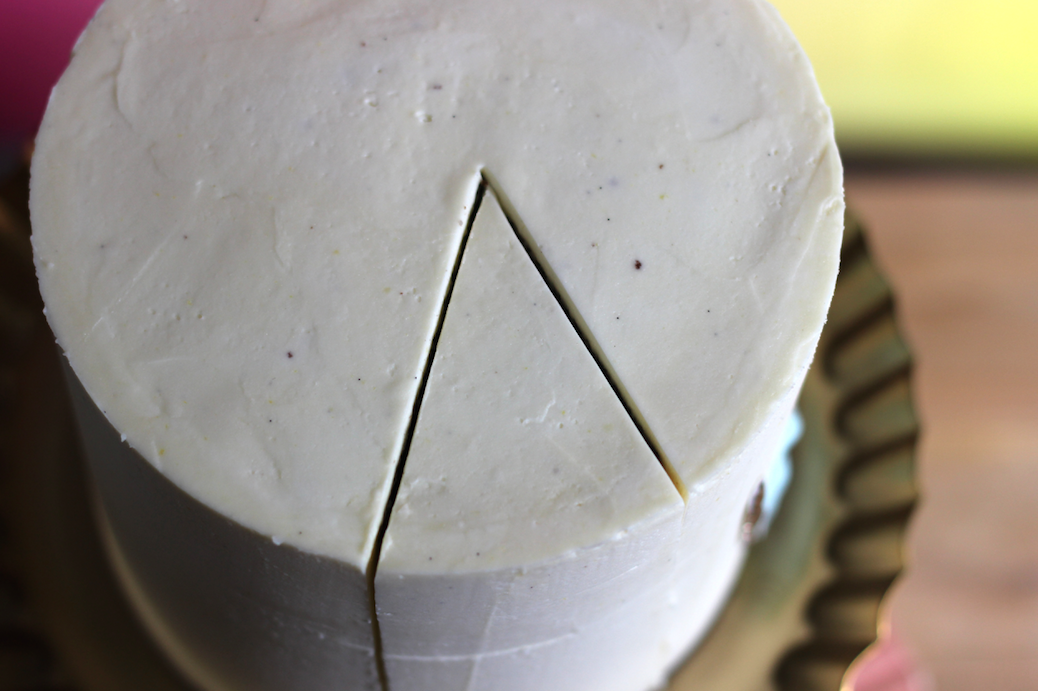
It doesn't break, it doesn't weep, it can easily be adjusted to your sweetness preference. Does it crust? No. But it's firm enough to cover with fondant anyway if you use the barrel wrap technique, which is what I almost always use (post on this soon!).
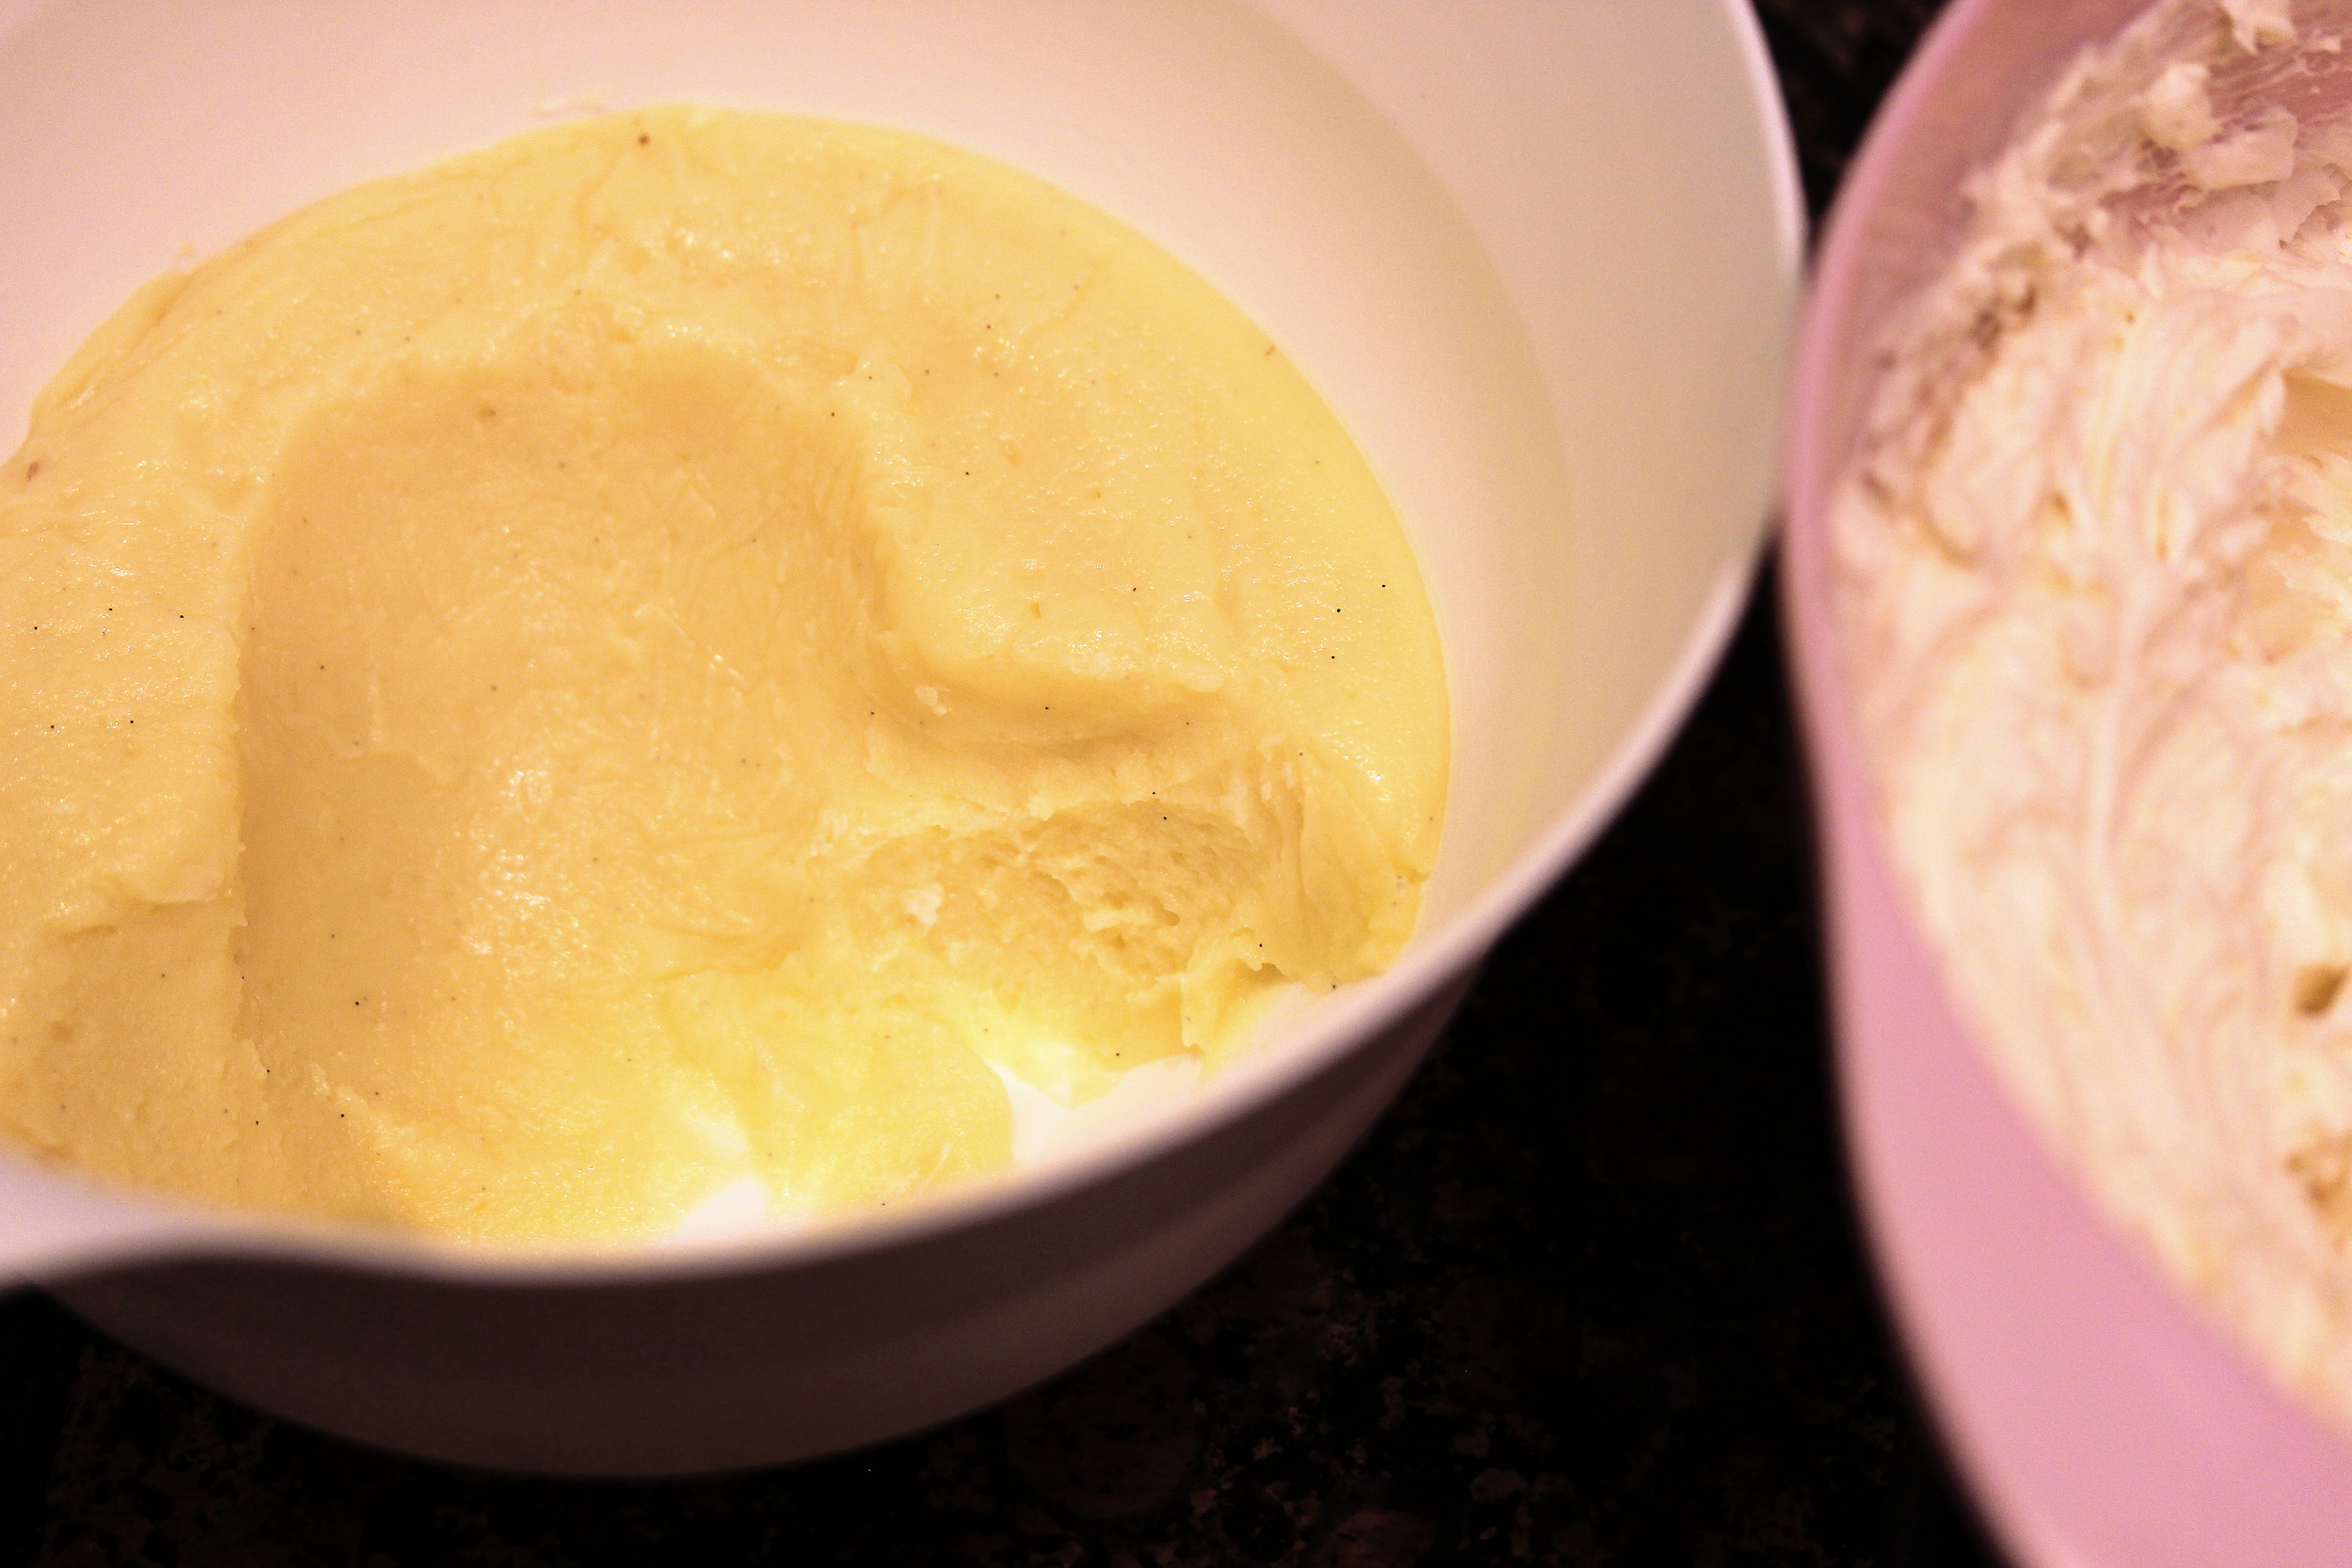
Making the custard for this recipe will remind you of making pastry cream, except with cornstarch only and without the butter stirred in at the end. It will cool very firm, like unpleasant jiggly concrete, but that's ok, you don't want a lot of moisture in your buttercream or it will be too soft.
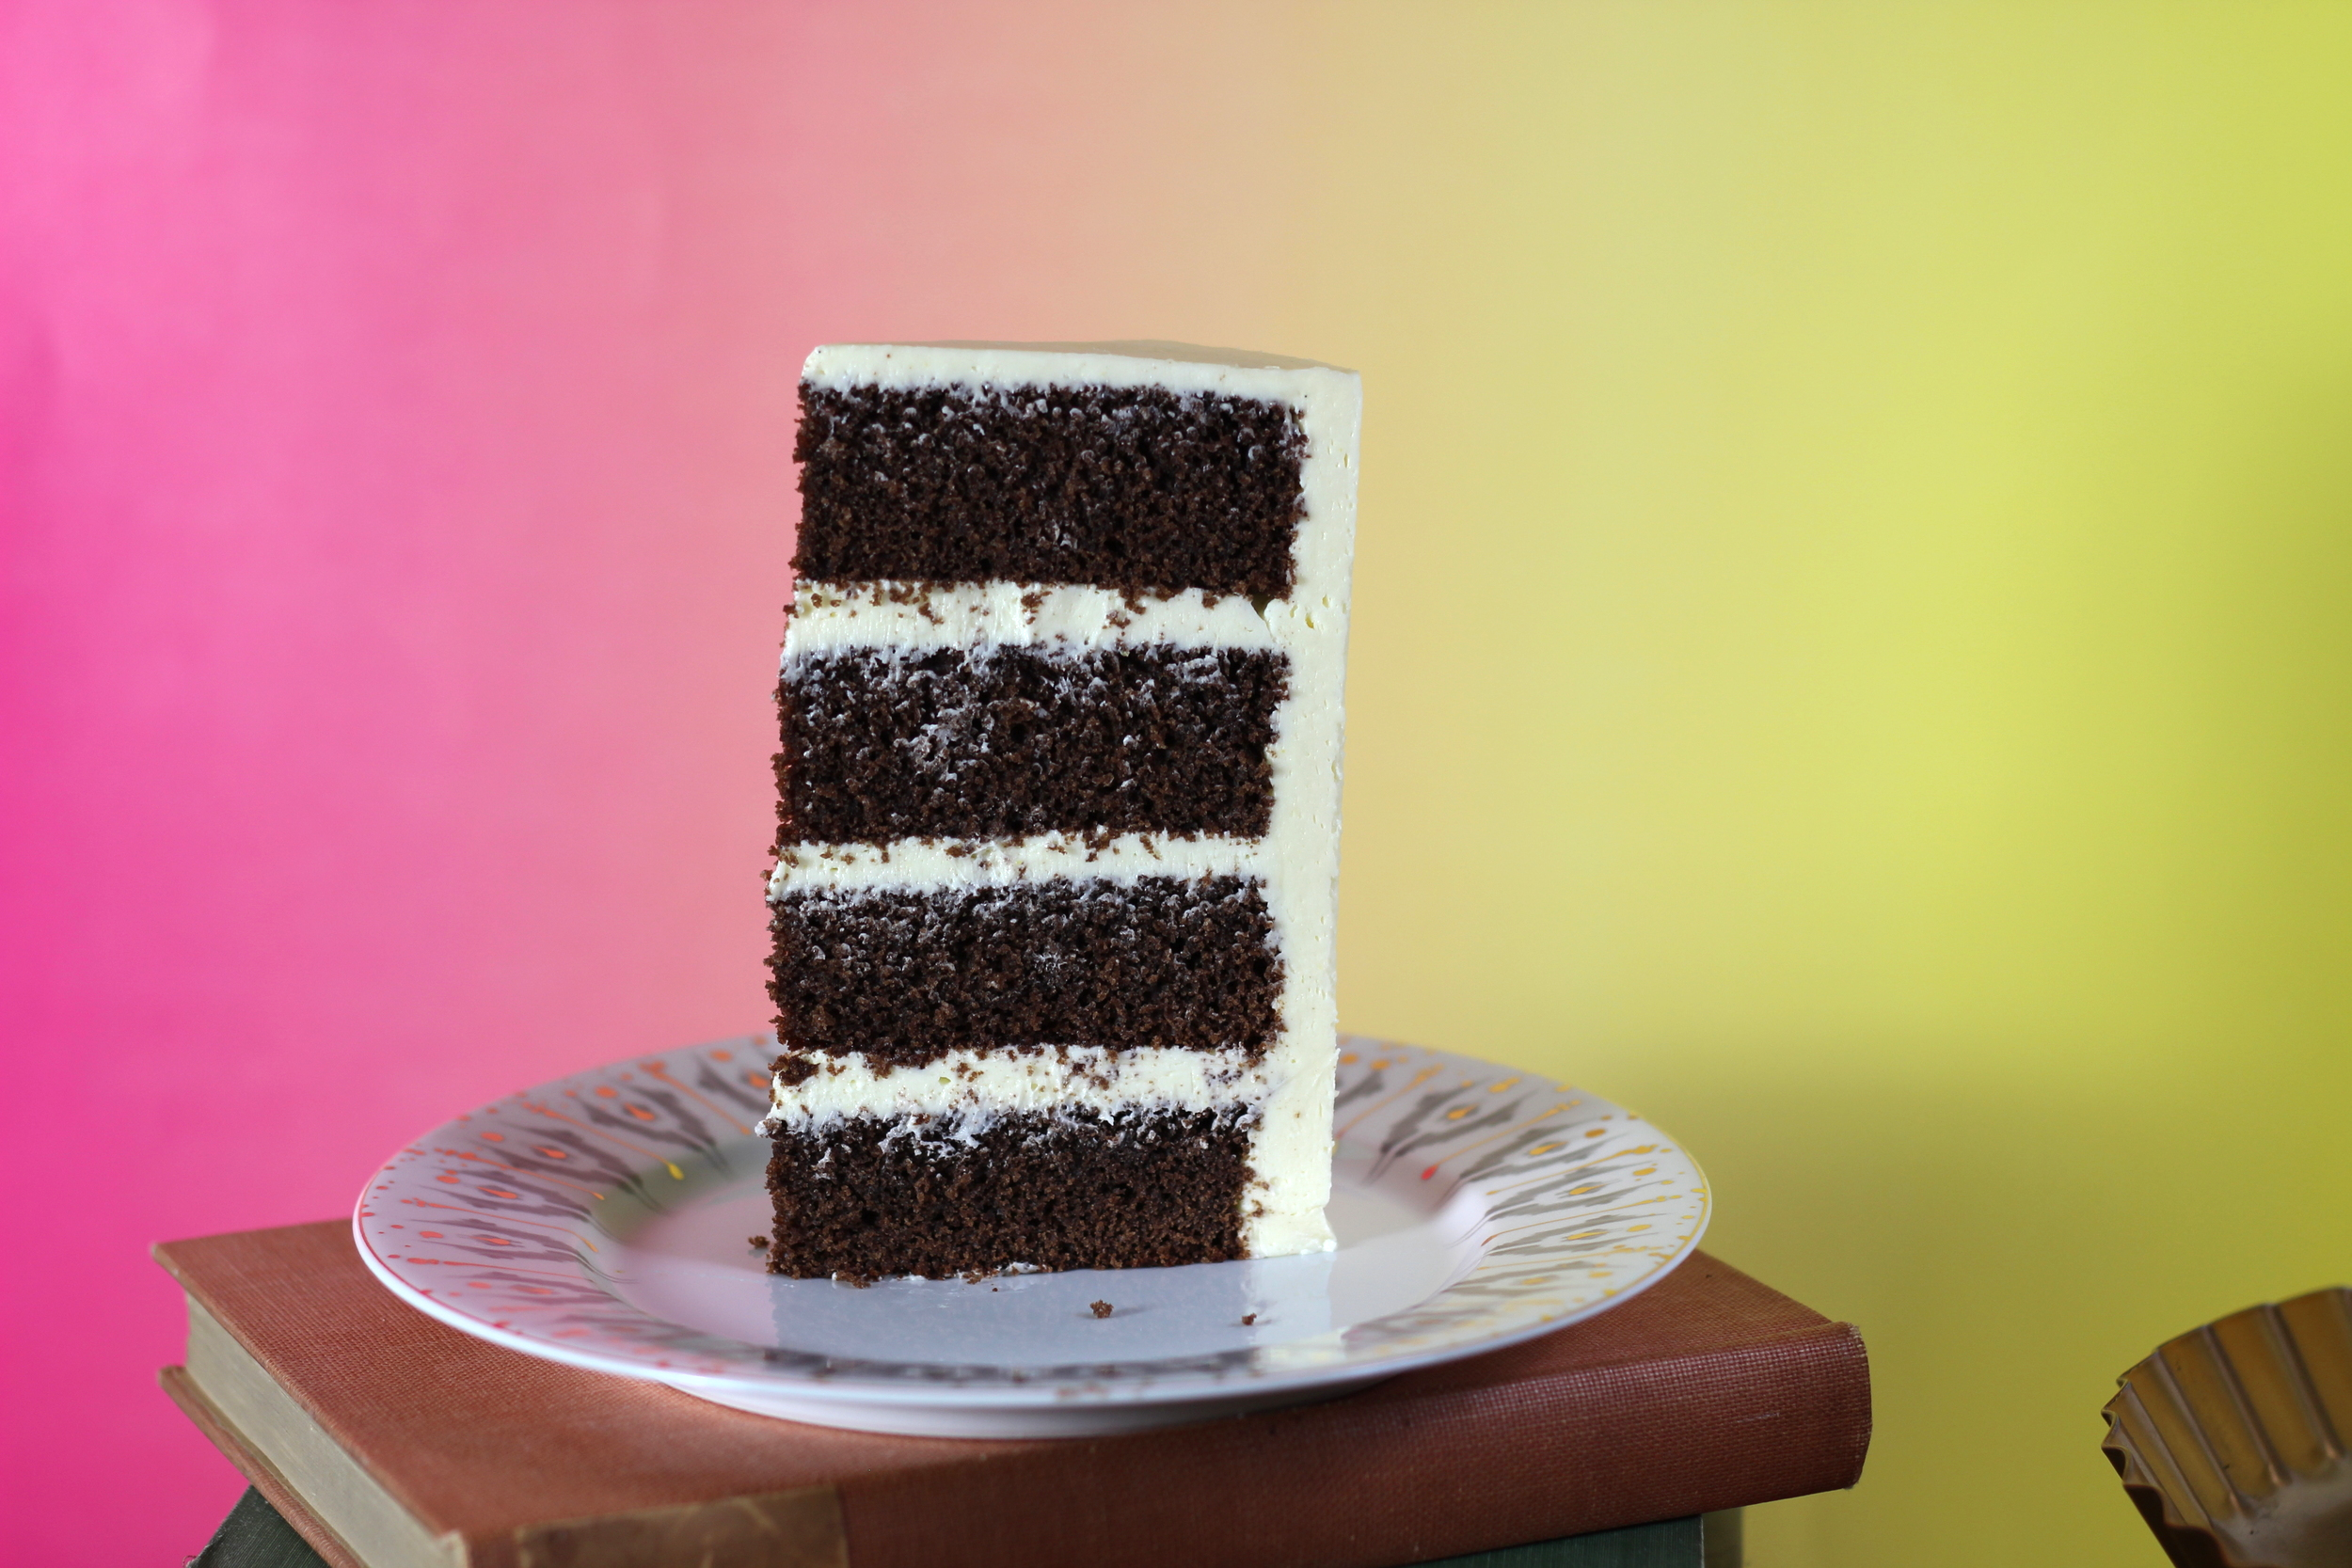
This frosting has an uncannily light texture while tasting rich and substantial. The flavor of fresh cream really shines here, which is why it reminds me so much of ice cream. And because you are heating the custard, it's a great application for flavor infusions, such as a split vanilla bean pod--or, where you can add your chocolate if making a chocolate version for seamless incorporation.
Onto it then. Yes it takes a bit of prep since you need your custard to cool completely before you can make your frosting, but I highly recommend doubling the custard part and keeping it on hand anytime you need to whip up some frosting--and, I don't really see a problem with having extra pastry cream on hand. It will last about three weeks in the fridge tightly sealed, and can be frozen for six months.
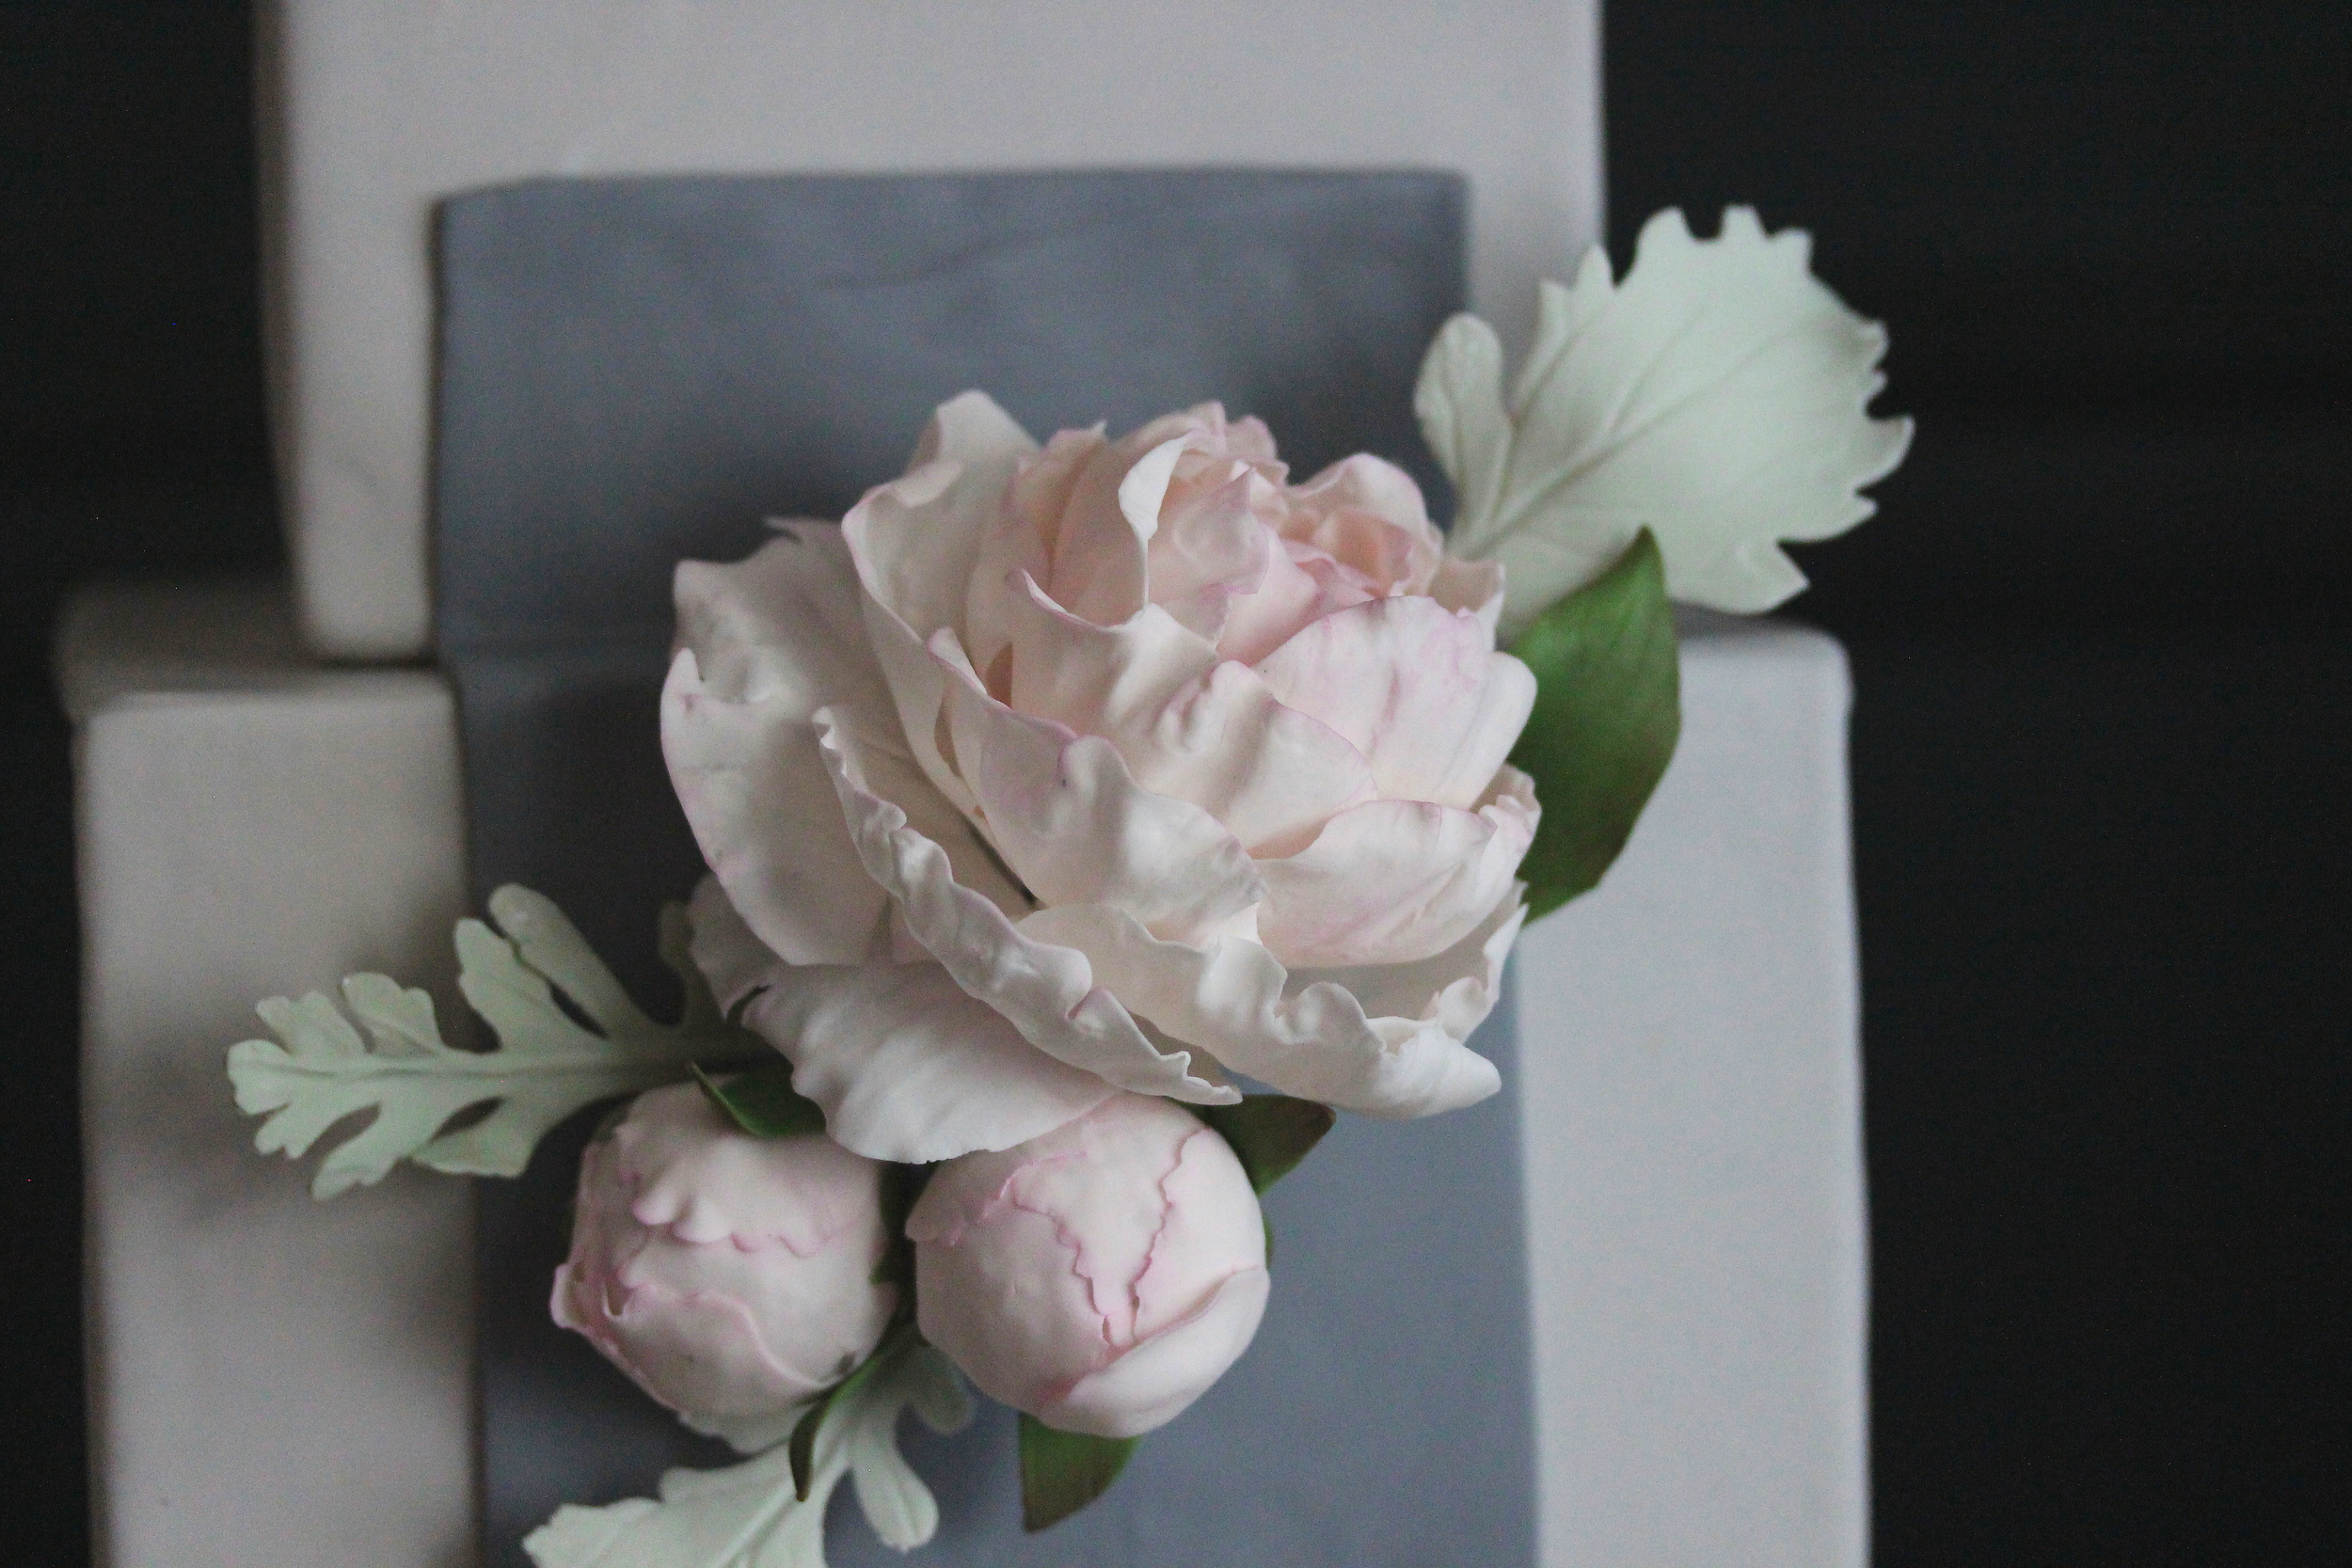
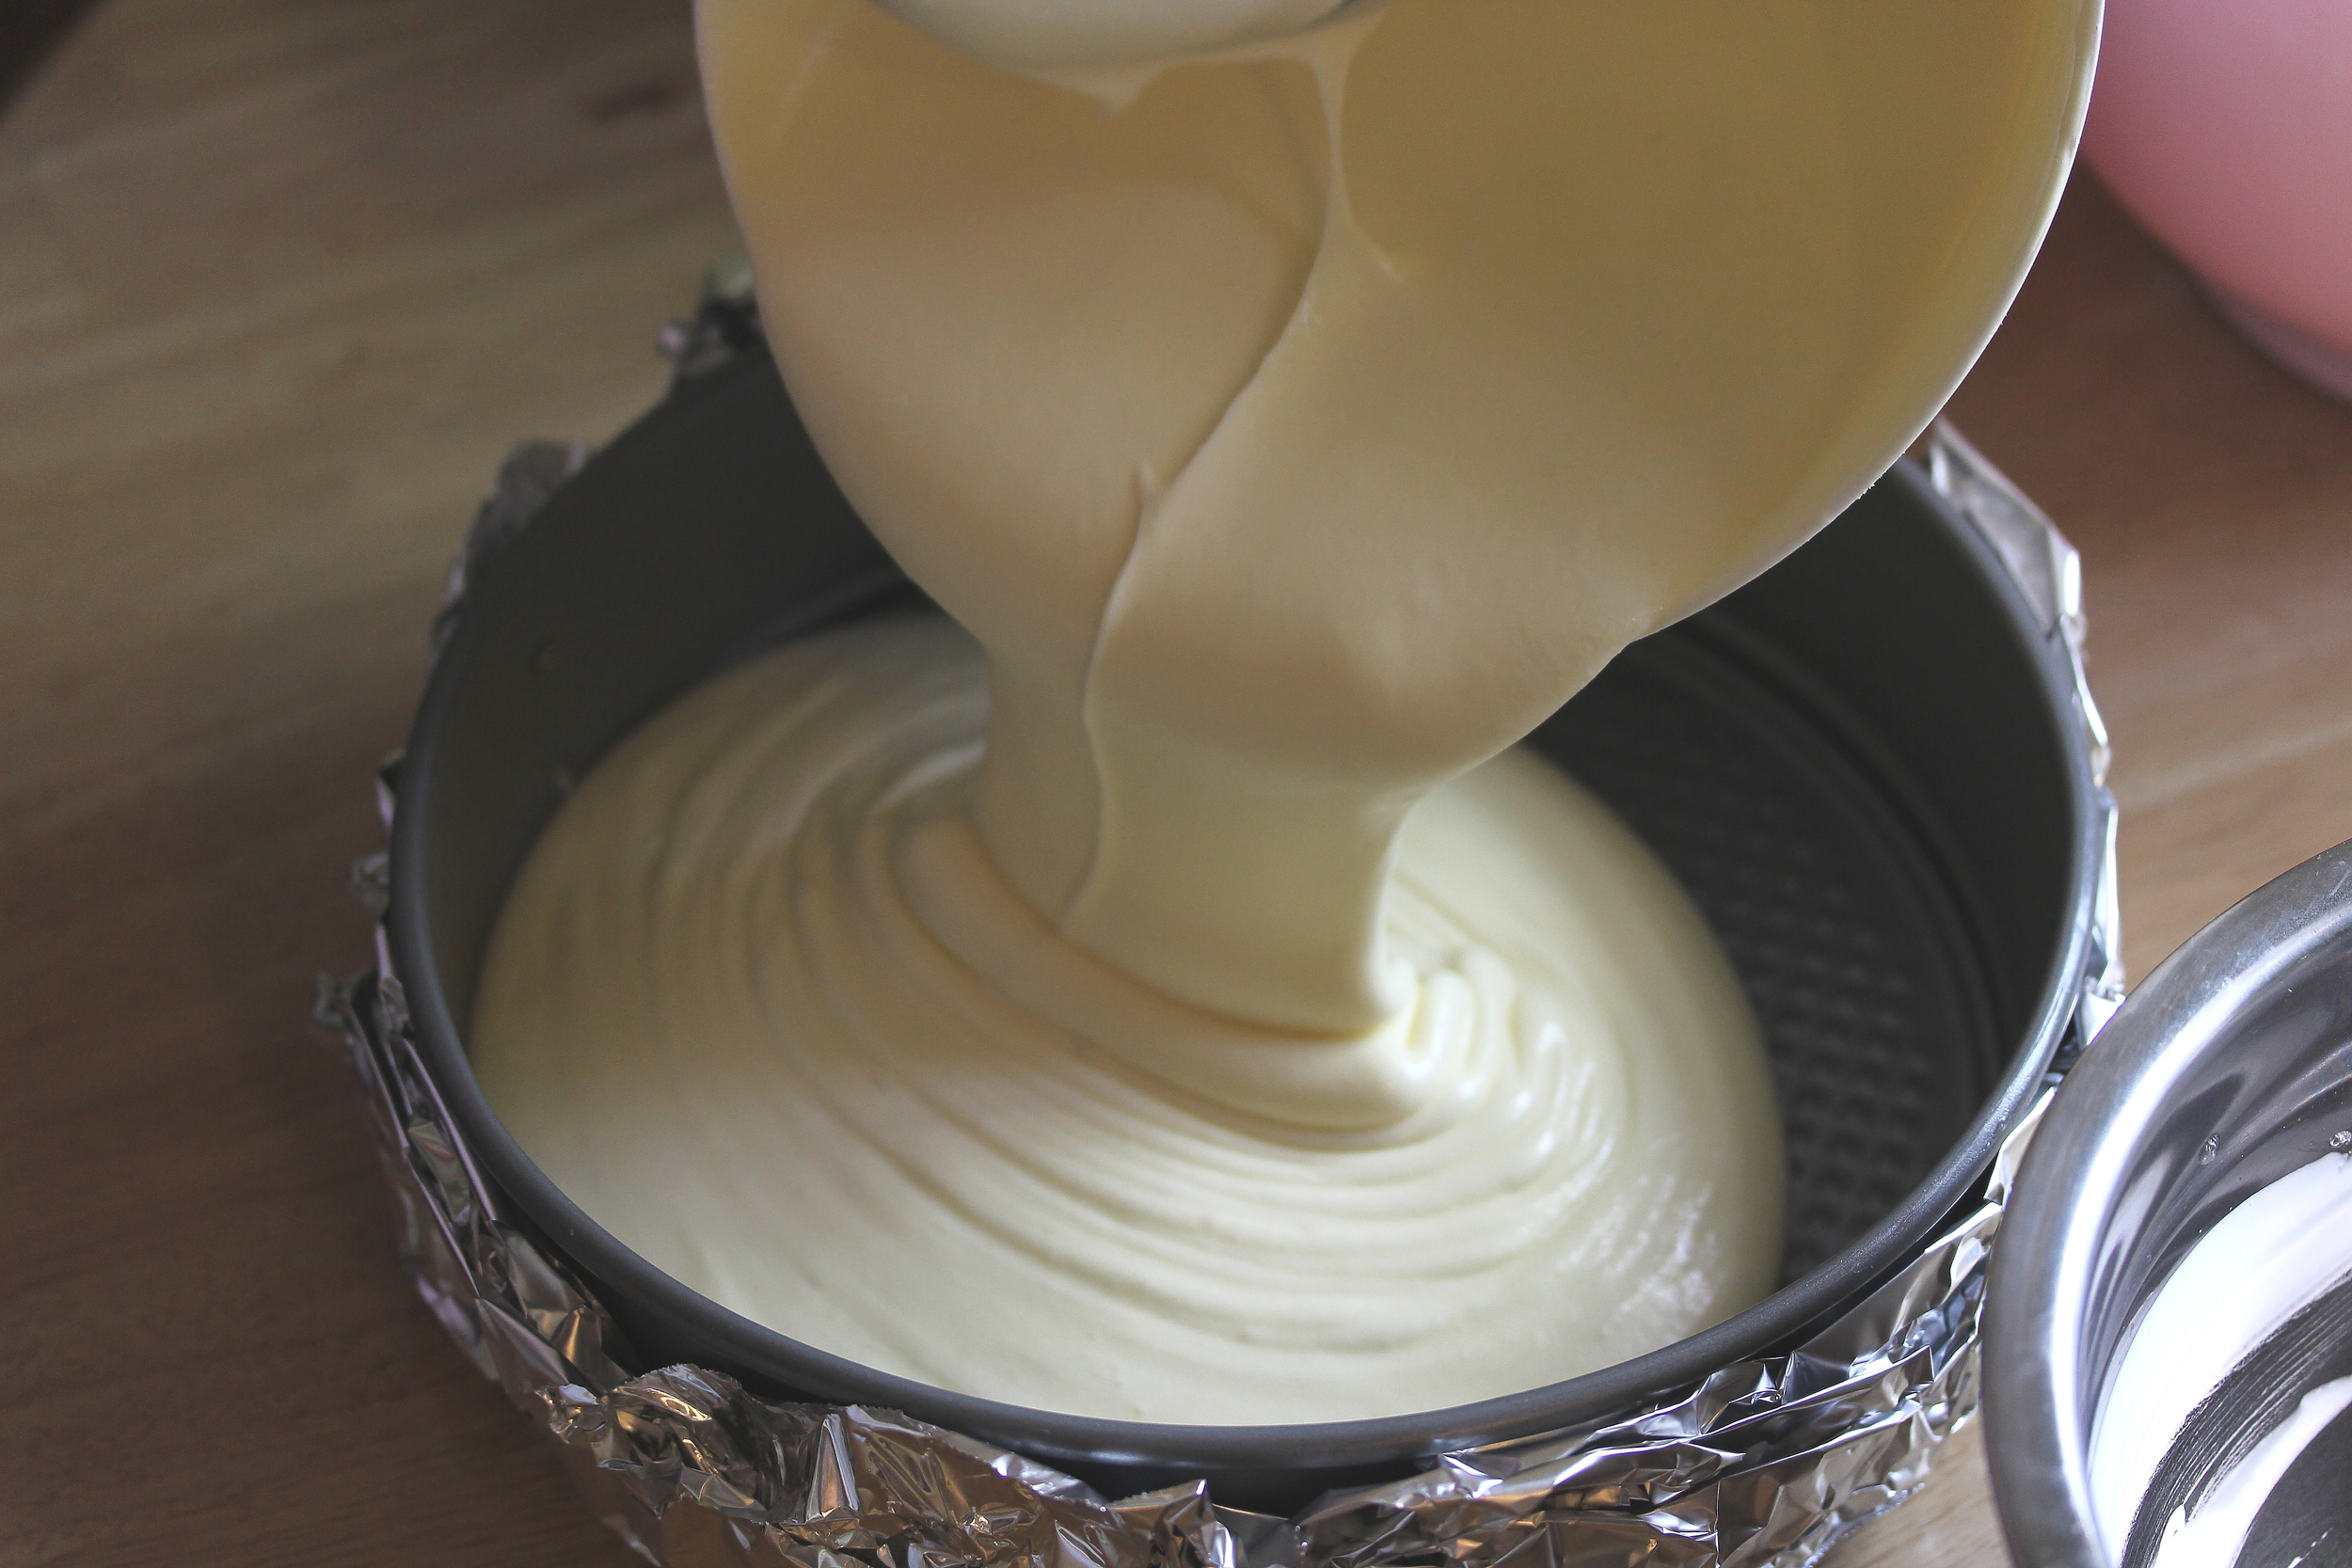
Now, about that cake...this cake is ALSO something years in the making. A velvety, dense-crumbed, moist chocolate cake that is not even remotely heavy or dry, yet can be carved and stacked? Yes'm. But that recipe is for another post.
hello my love
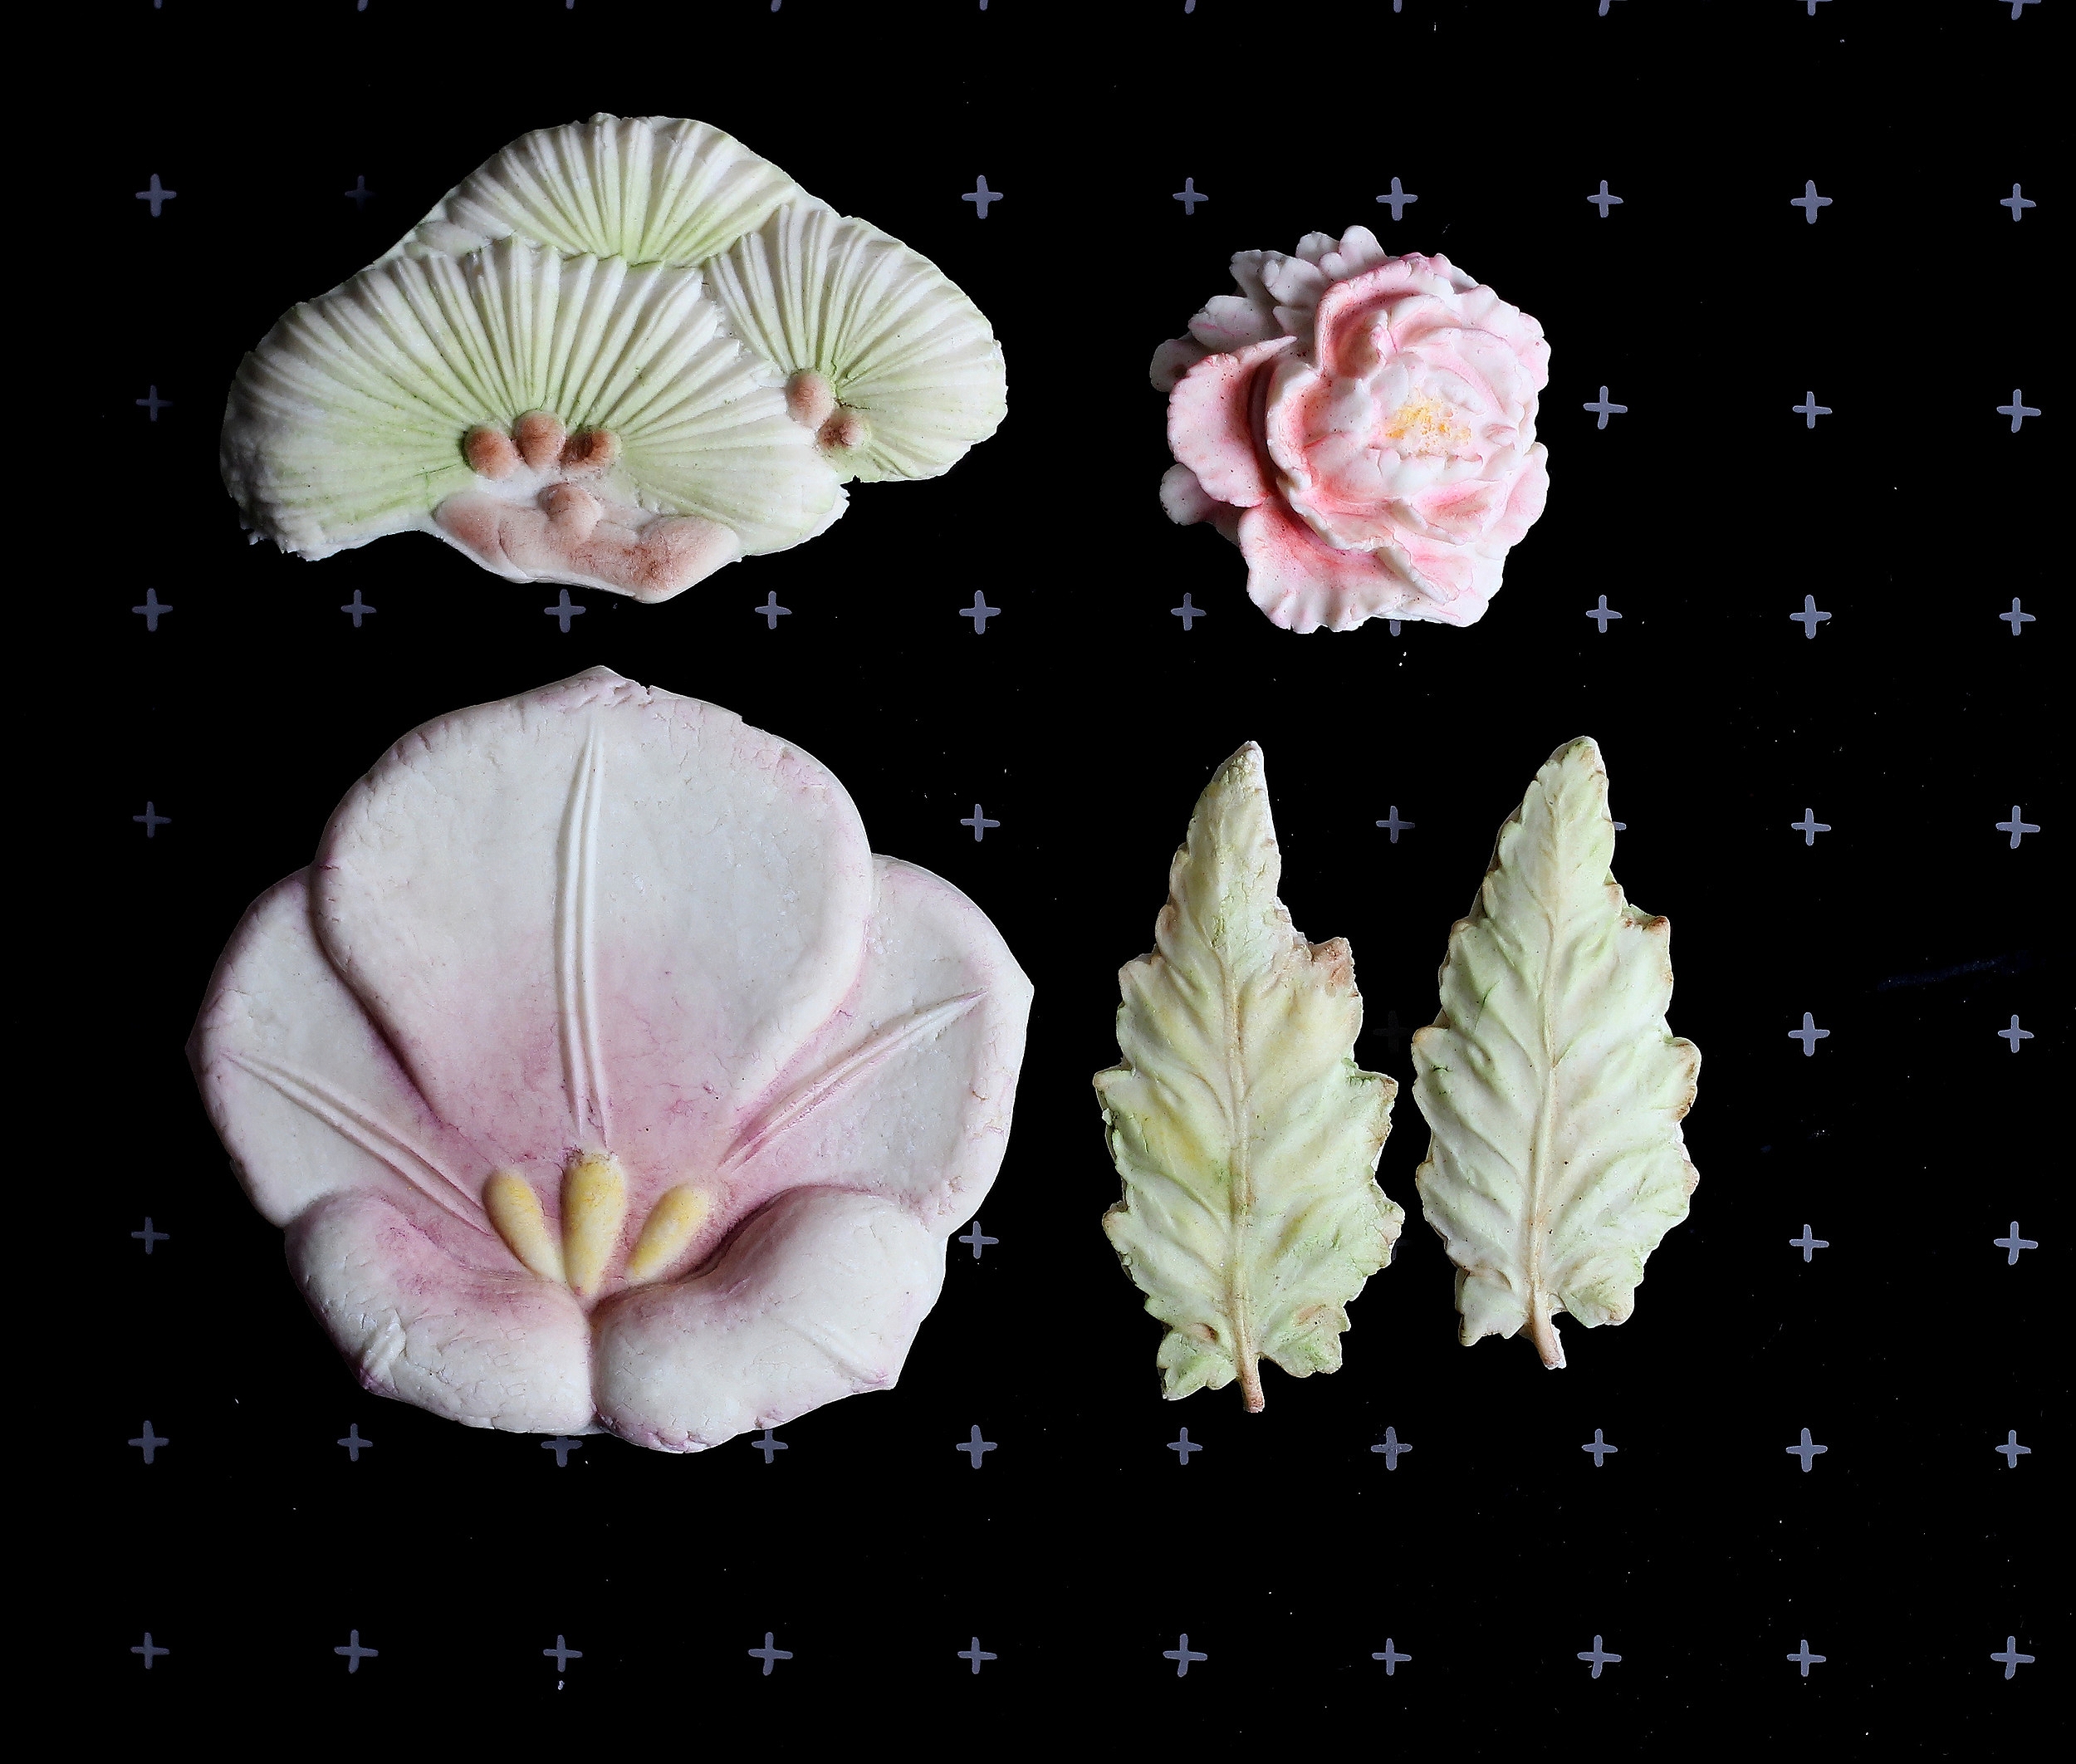
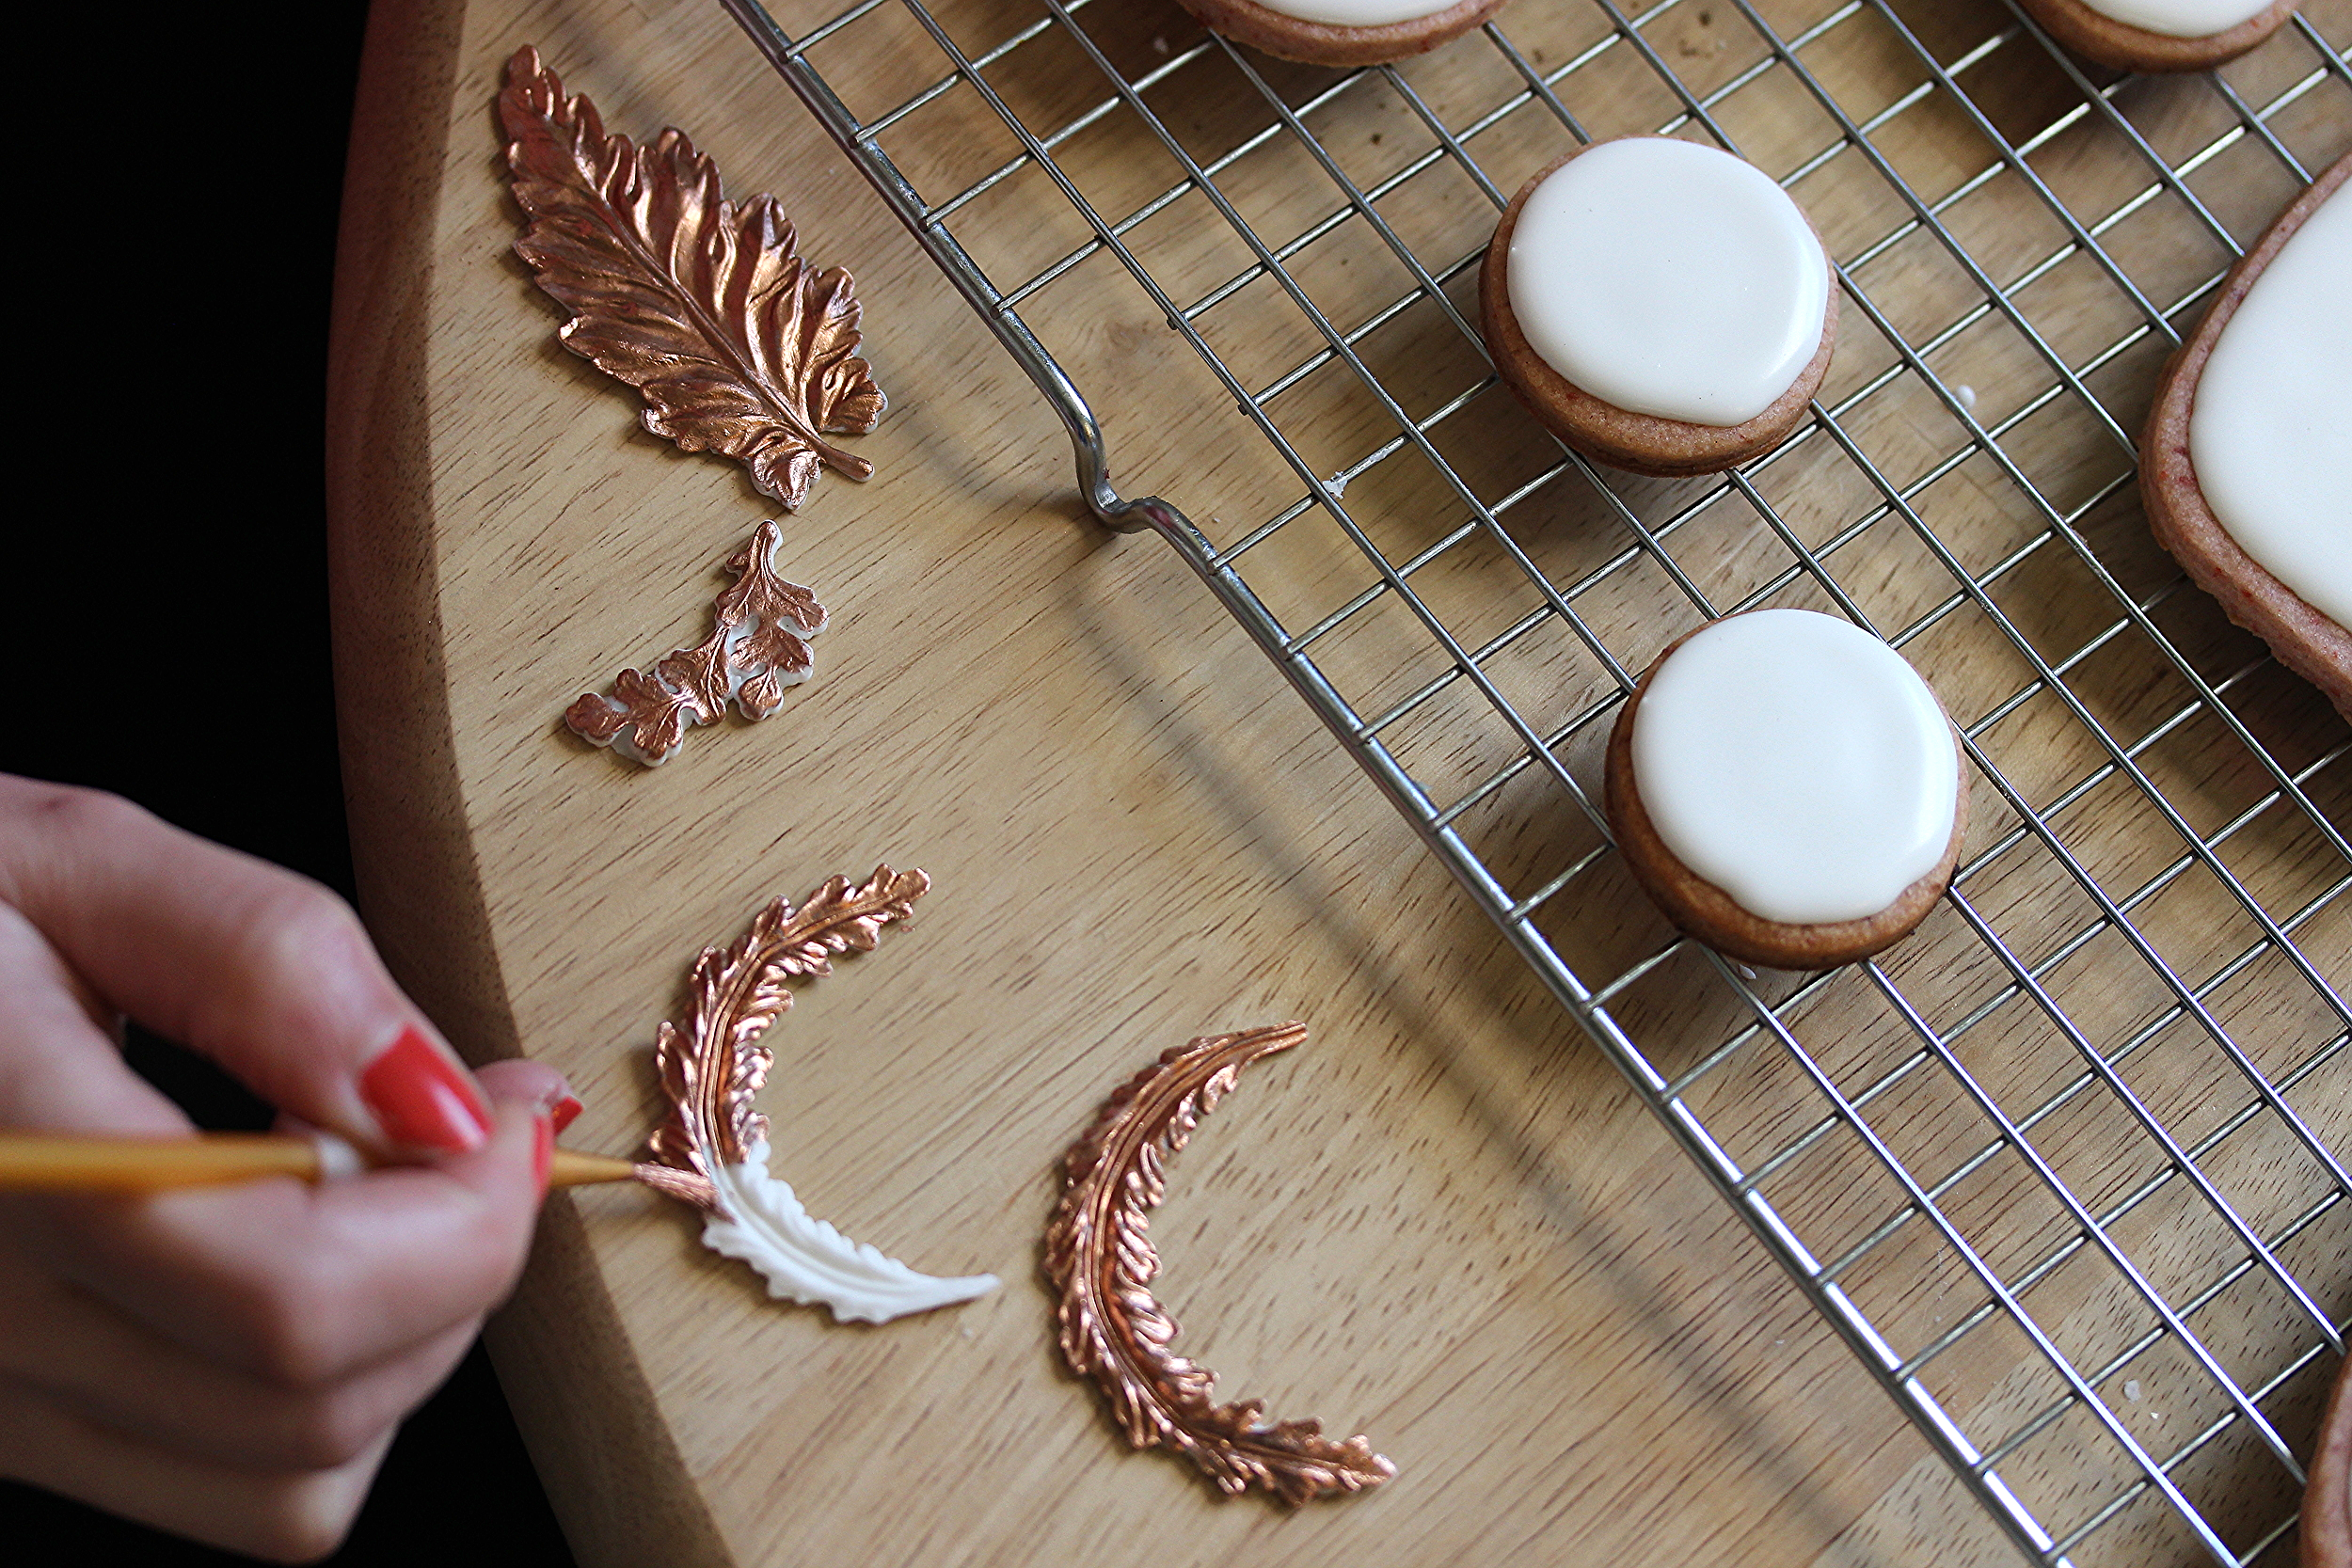
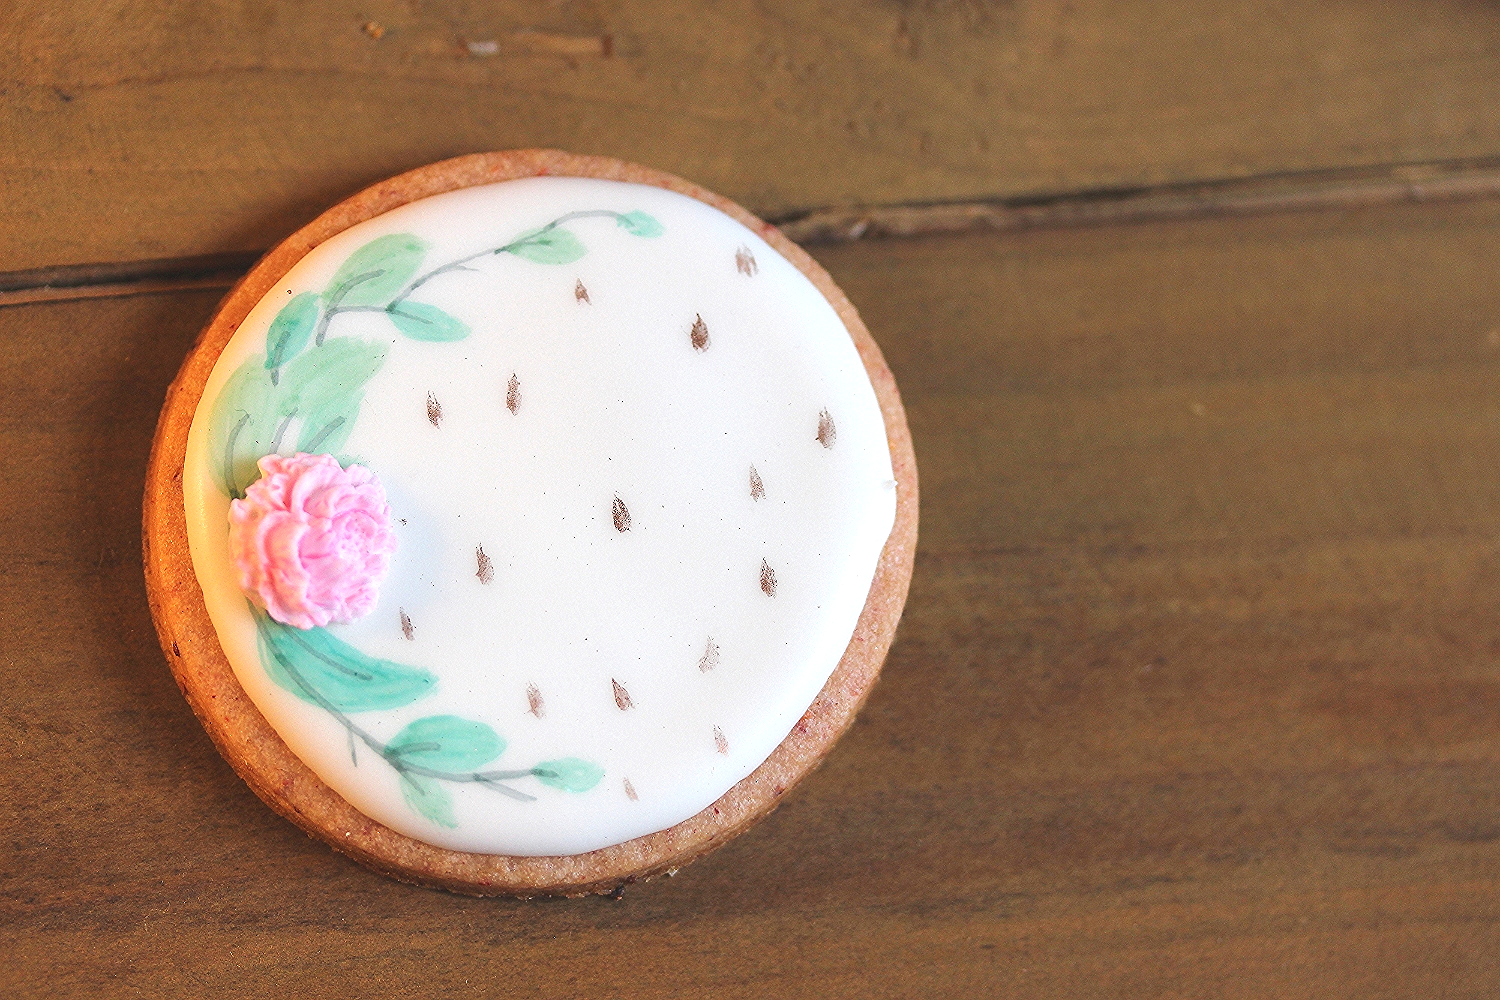
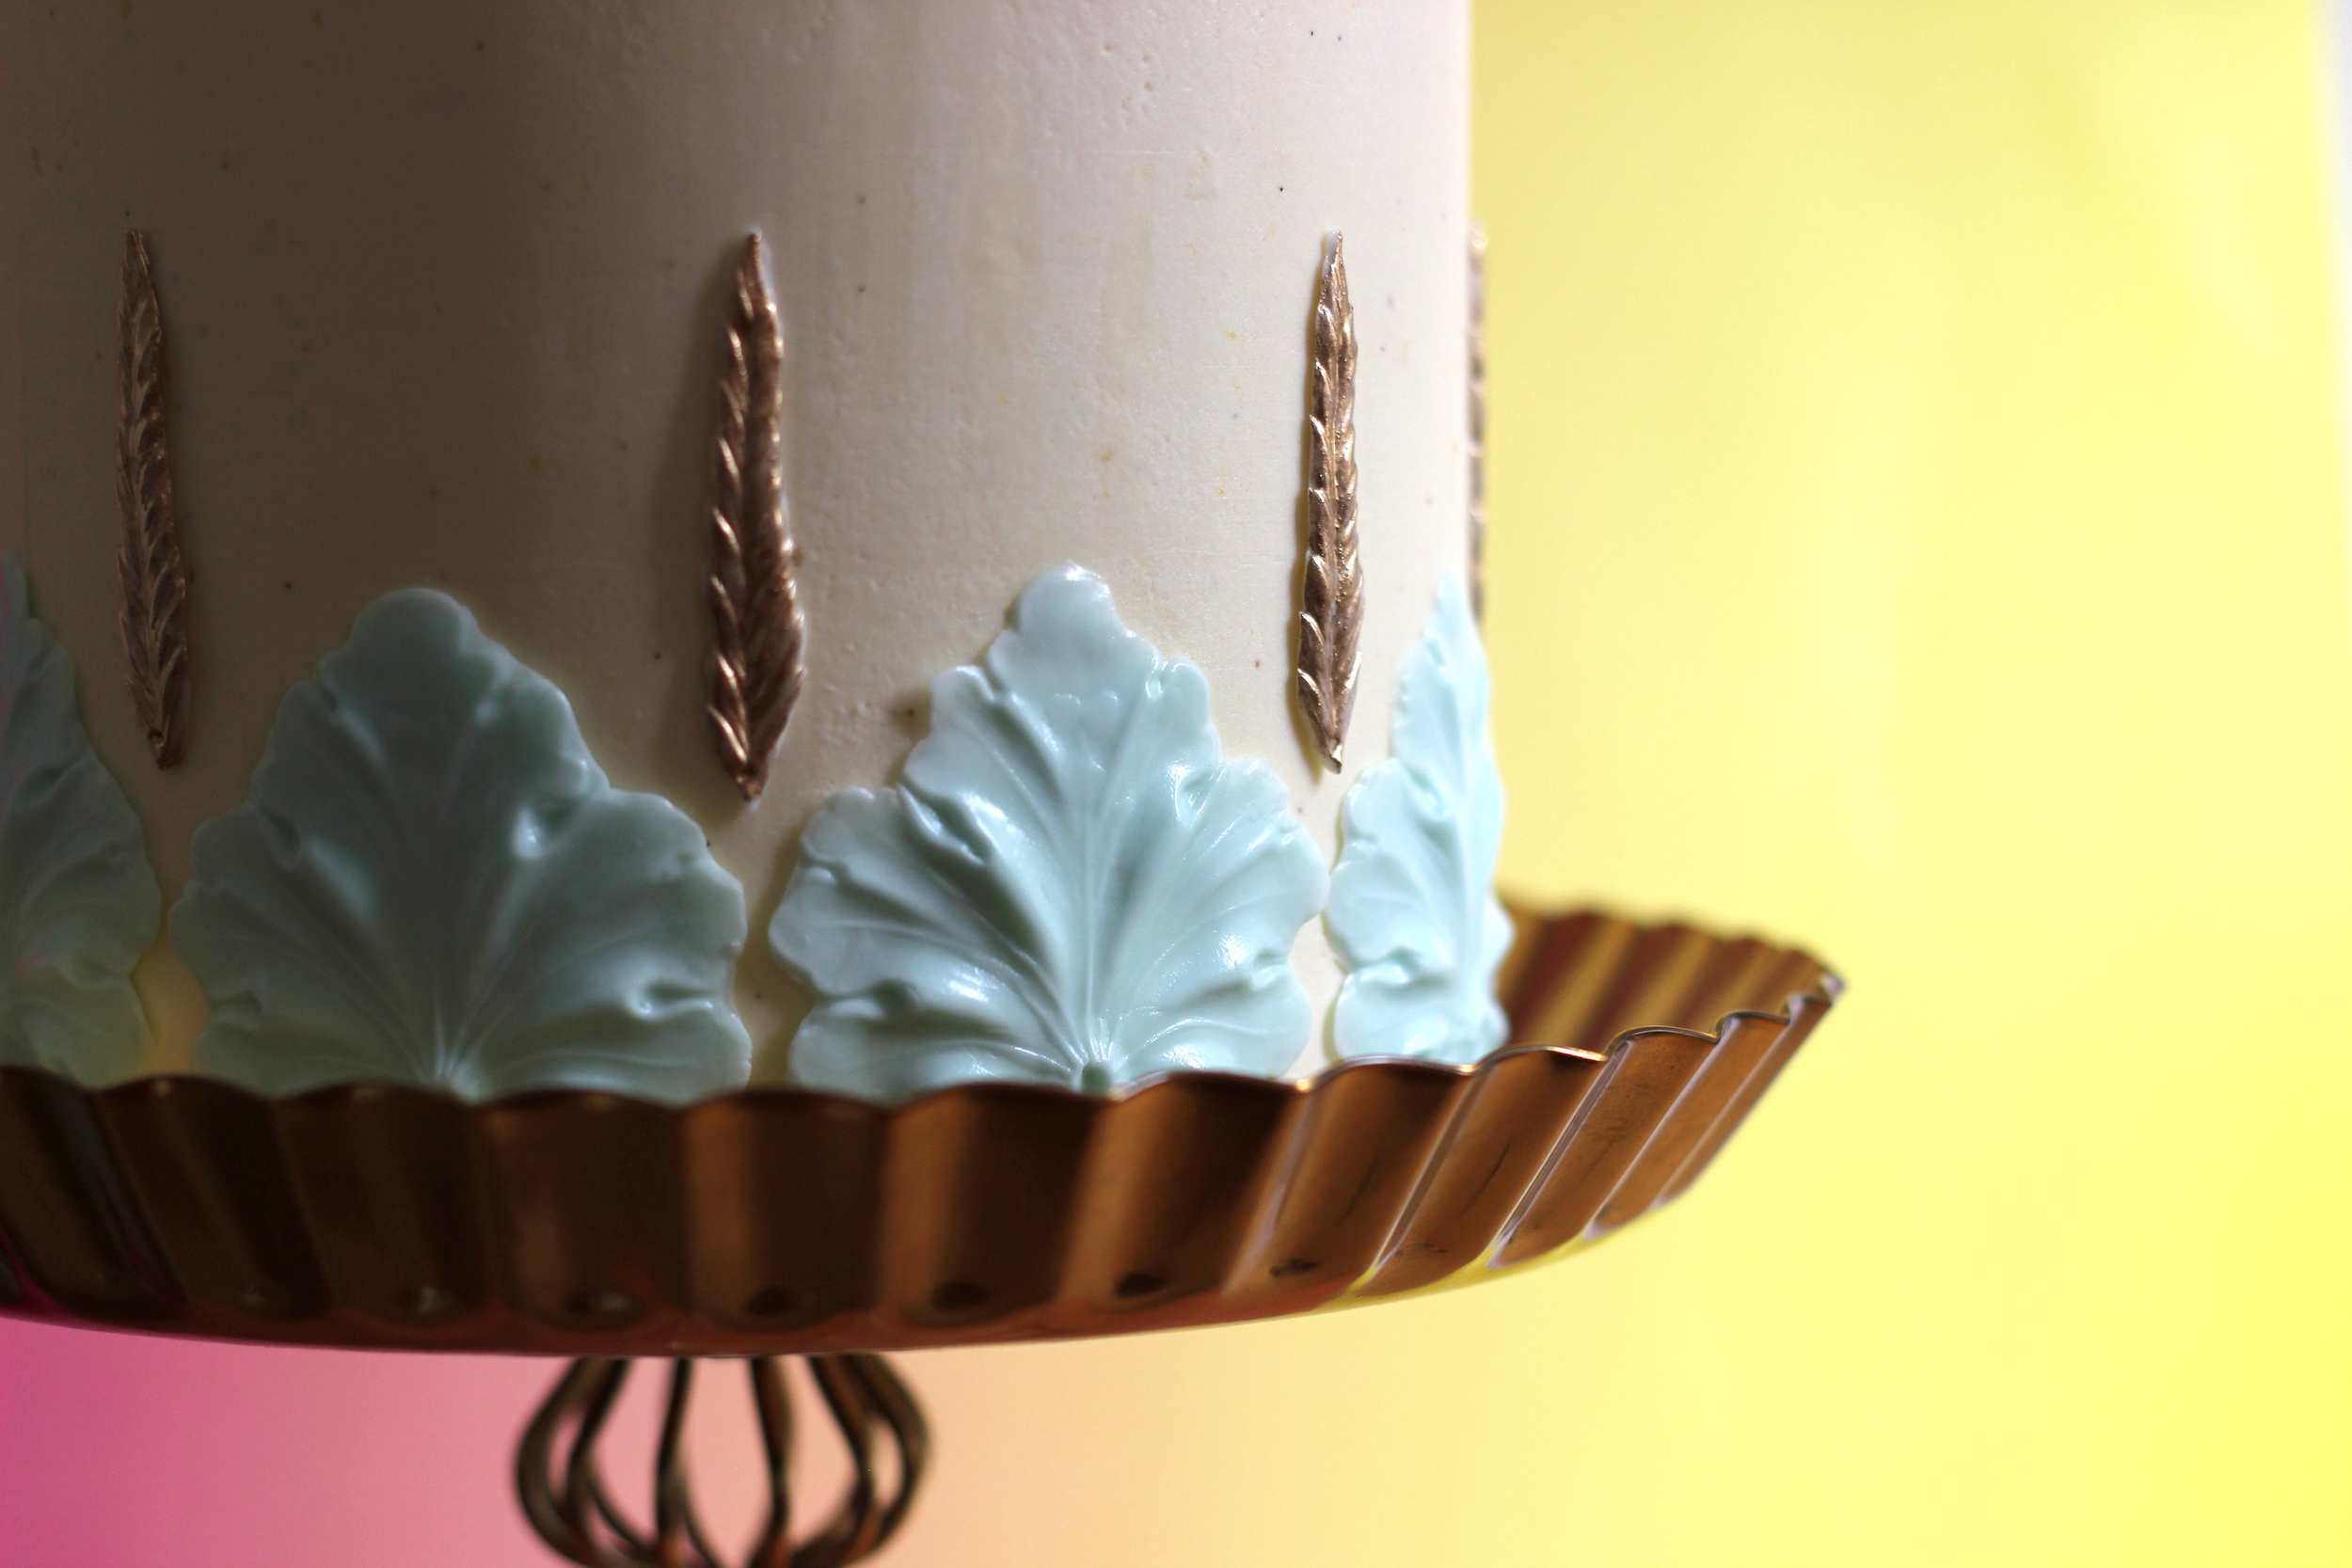
The fondant leaves and slim gold feathers I used to adorn this cake come from molds I sell on my Etsy shop from vintage pieces I have fiendishly collected over the years, if you wanted to know.
Custard Buttercream
aka the world's best buttercream
This recipe makes A LOT of buttercream--about 7 cups (enough to fill and frost two 8" cakes and then some). If you don't need that much right now, I recommend making the full custard amount, then freezing half of it for later use. Whip up your half-sized custard portion with half of the amount of butter and powdered sugar here.
8 oz. granulated sugar
1.5 oz. corn starch
1 egg
2 yolks
1 c. whole milk
1 c. heavy cream
2 Tbsp vanilla extract
1 c. (two sticks) of salted butter
3 c. (six sticks) of unsalted butter
2 1/2 c. powdered sugar, or to taste
Whisk granulated sugar and cornstarch in a heat-proof bowl until well combined, then add egg and yolks and beat for 1 minute. Heat milk and cream on the stovetop until mixture starts to steam but not boil. Temper the egg mixture by mixing in a small amount of hot milk to eggs, gradually adding more until mixture is smooth, then pour contents back into the saucepan and cook for another minute, until the custard thickens and bubbles swampily. Remove from heat and strain custard through a fine sieve to catch any cooked egg bits. Mix in vanilla, press plastic wrap over the surface, and allow to cool in the fridge for at least 3 hours.
If the custard was cooled overnight or for longer than 3 hours, remove from fridge and allow to come to room temperature before using. Custard should be cool room temperature--not cold.
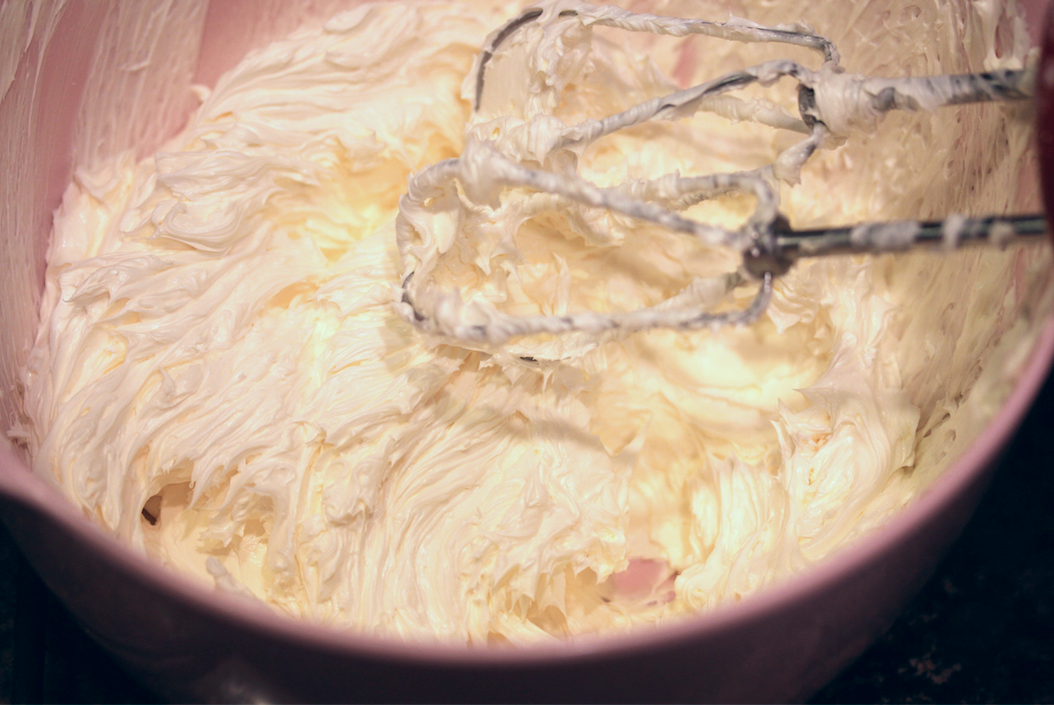
Whip butter until pale and fluffy, about 4-5 minutes. Add powdered sugar and whip for at least 1 more minute. Add spoonfuls of cooled custard to the butter and whip until completely combined.

crying again now